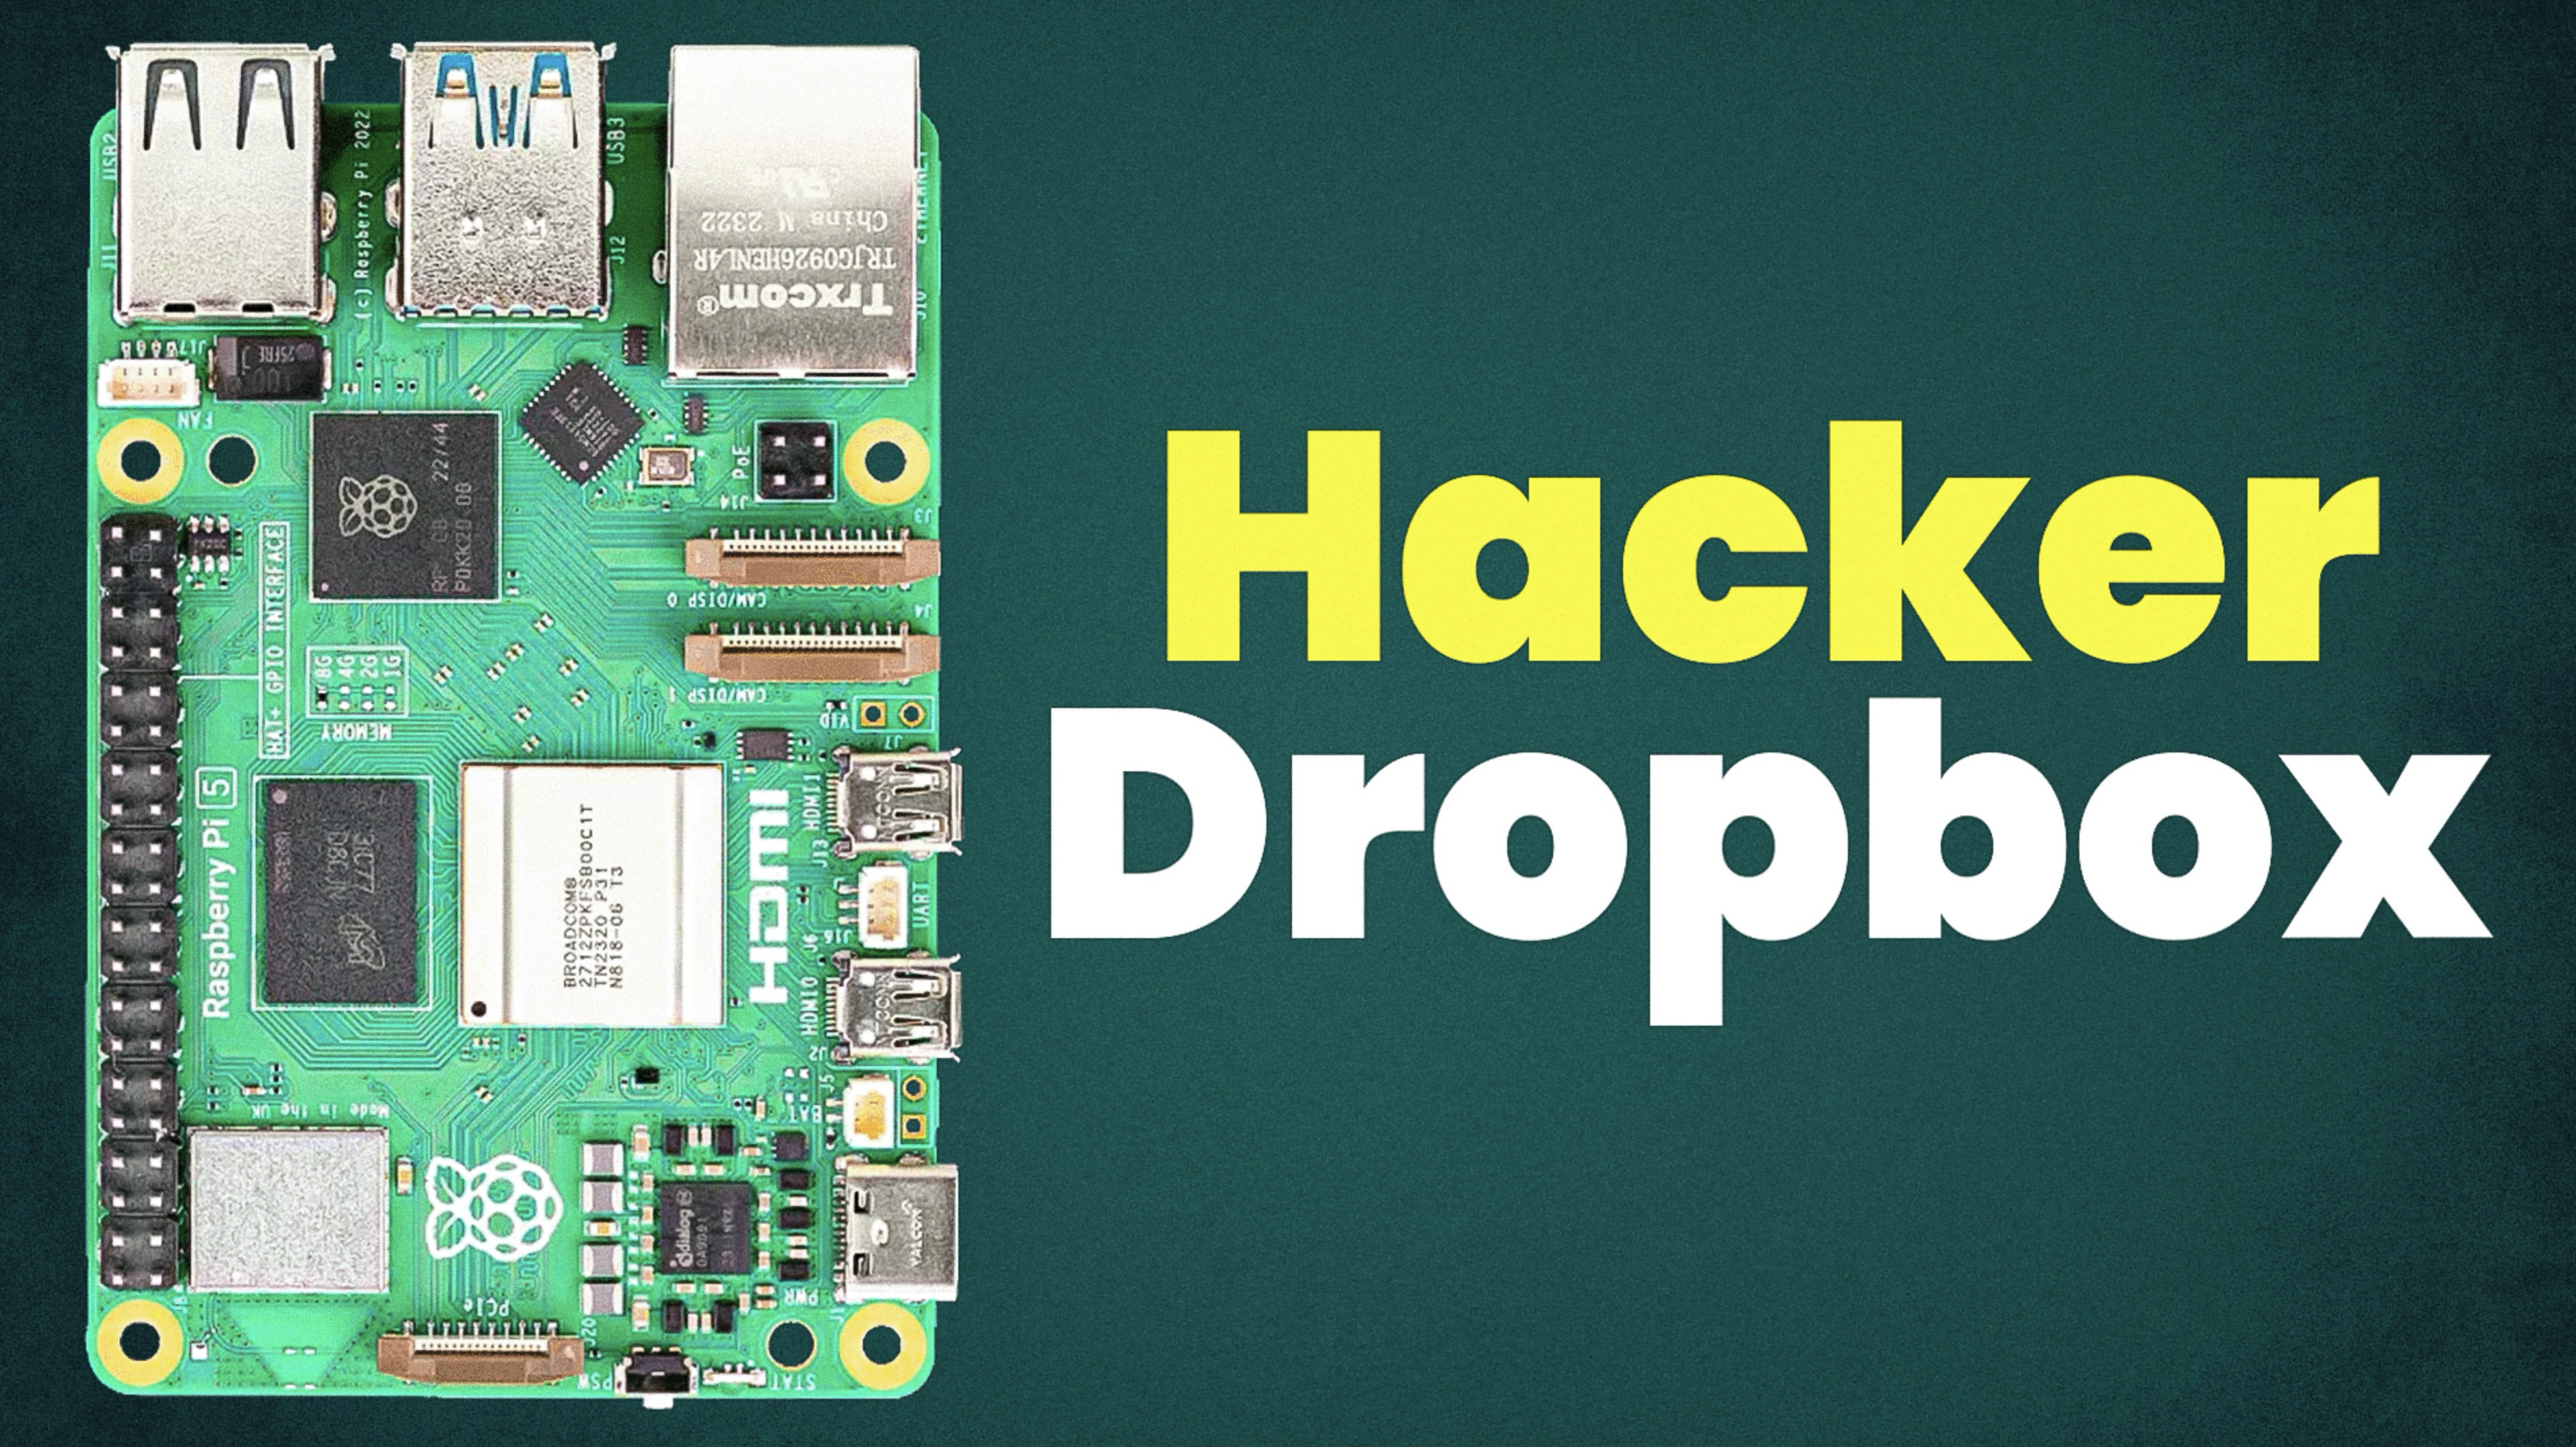
Building a Hacker Dropbox (access any network)
!
The video: https://youtu.be/1lZ3FQSv-wI?si=-Poh5YhiymhGK5cH
What is a Hacker Dropbox? (and why you need one….even if you aren’t a hacker)#
- Here is a great definition from ChatGPT: a small, discreet, and often portable device designed to be covertly placed in a target network to provide remote access for a hacker or penetration tester. It typically contains hardware and software configured to exploit the network or collect sensitive information.
- If you’re a hacker…this is a no brainer. Get instant access to a remote network by dropping off a device. But….if you’re not a hacker…why do you need this?
Family HelpDesk Support#
- If you’re like me, you are likely the official technical support for your family and friends. I also inherited the role of helpdesk support for my church…these kinds of things just happen by default when you are in tech and people find out about your technical skills.
- This isn’t an easy thing to do, especially when it comes to troubleshooting networks for your family. Is the network up? Why is it slow? Sometimes a FaceTime call just isn’t going to cut it.
- If I’m going to be the support for my church and family, I’m going to take my role seriously. I need FULL control of the remote network……no more playing around!!!
- With the Hacker Dropbox, I can drop off a small device, in my case it’s going to be a Raspberry Pi 4. (it can be a lot of things, as long as the device is Linux-based and is 64-bit). Instantly I get access to this remote network, enabling me to provide remote support and access any device.
This is NOT VPN#
- This is not a VPN (VIrtual Private Network) solution….it’s much better.
- This is a ZTNA (Zero-Trust Network Access) solution. It’s called Twingate and I’ve been using them for a long time in my business and personal networks. I talk more about them in the video above but in short, they allow you to get and give remote access to networks in the most secure way. They are used by everyone from large enterprises to homelabbers looking to access their Plex server.
- This isn’t the first video I’ve made about them but this is the first time I’ve featured a use-case like this.
- Oh, it’s also FREE for home labbers. (And…cough….businesses that don’t have a ton of employees….like me.)
You don’t need to know ANYTHING about the network#
- I wanted this to be a turnkey solution even if you don’t know anything about the remote network. All you’ll have to do is plug in an ethernet cable (or connect to wifi….but you’ll need to know the SSID and password) and you will know everything you need to know about that network…..but how?
- Twingate has a powerful API that allows us to do many things…including write python scripts that will automagically tell us the private IP address of our Hacker Dropbox (Raspberry Pi) and the Public IP address of the network, giving us instant access to this Hacker Dropbox AND the network.
- This guide will contain that script.
What do you need?#
- Any Linux-based 64-bit system will do. You’ll need at least 1 CPU and 2GB RAM (recommended)…but you can go as low as 512MB of RAM.
- You can also run this as a Docker container, which is my favorite way to deploy this in my home lab.
- In this example, with the Hacker Dropbox, I’m using a Raspberry Pi 4 running Raspberry Pi OS Lite - 64-bit and installing it directly on the system (no docker container)
What other hardware options do I have?#
Again, this can be many things, but here are some ideas to get the juices flowing:
- ZImaboard
- Raspberry Pi 4/5
- Raspberry Pi 400/500
- Old laptops
- NAS
- Intel NUC or other mini-pcs
The Tutorial#
Step 1 - Setup Twingate#
This setup is VERY easy and is all done in the cloud.
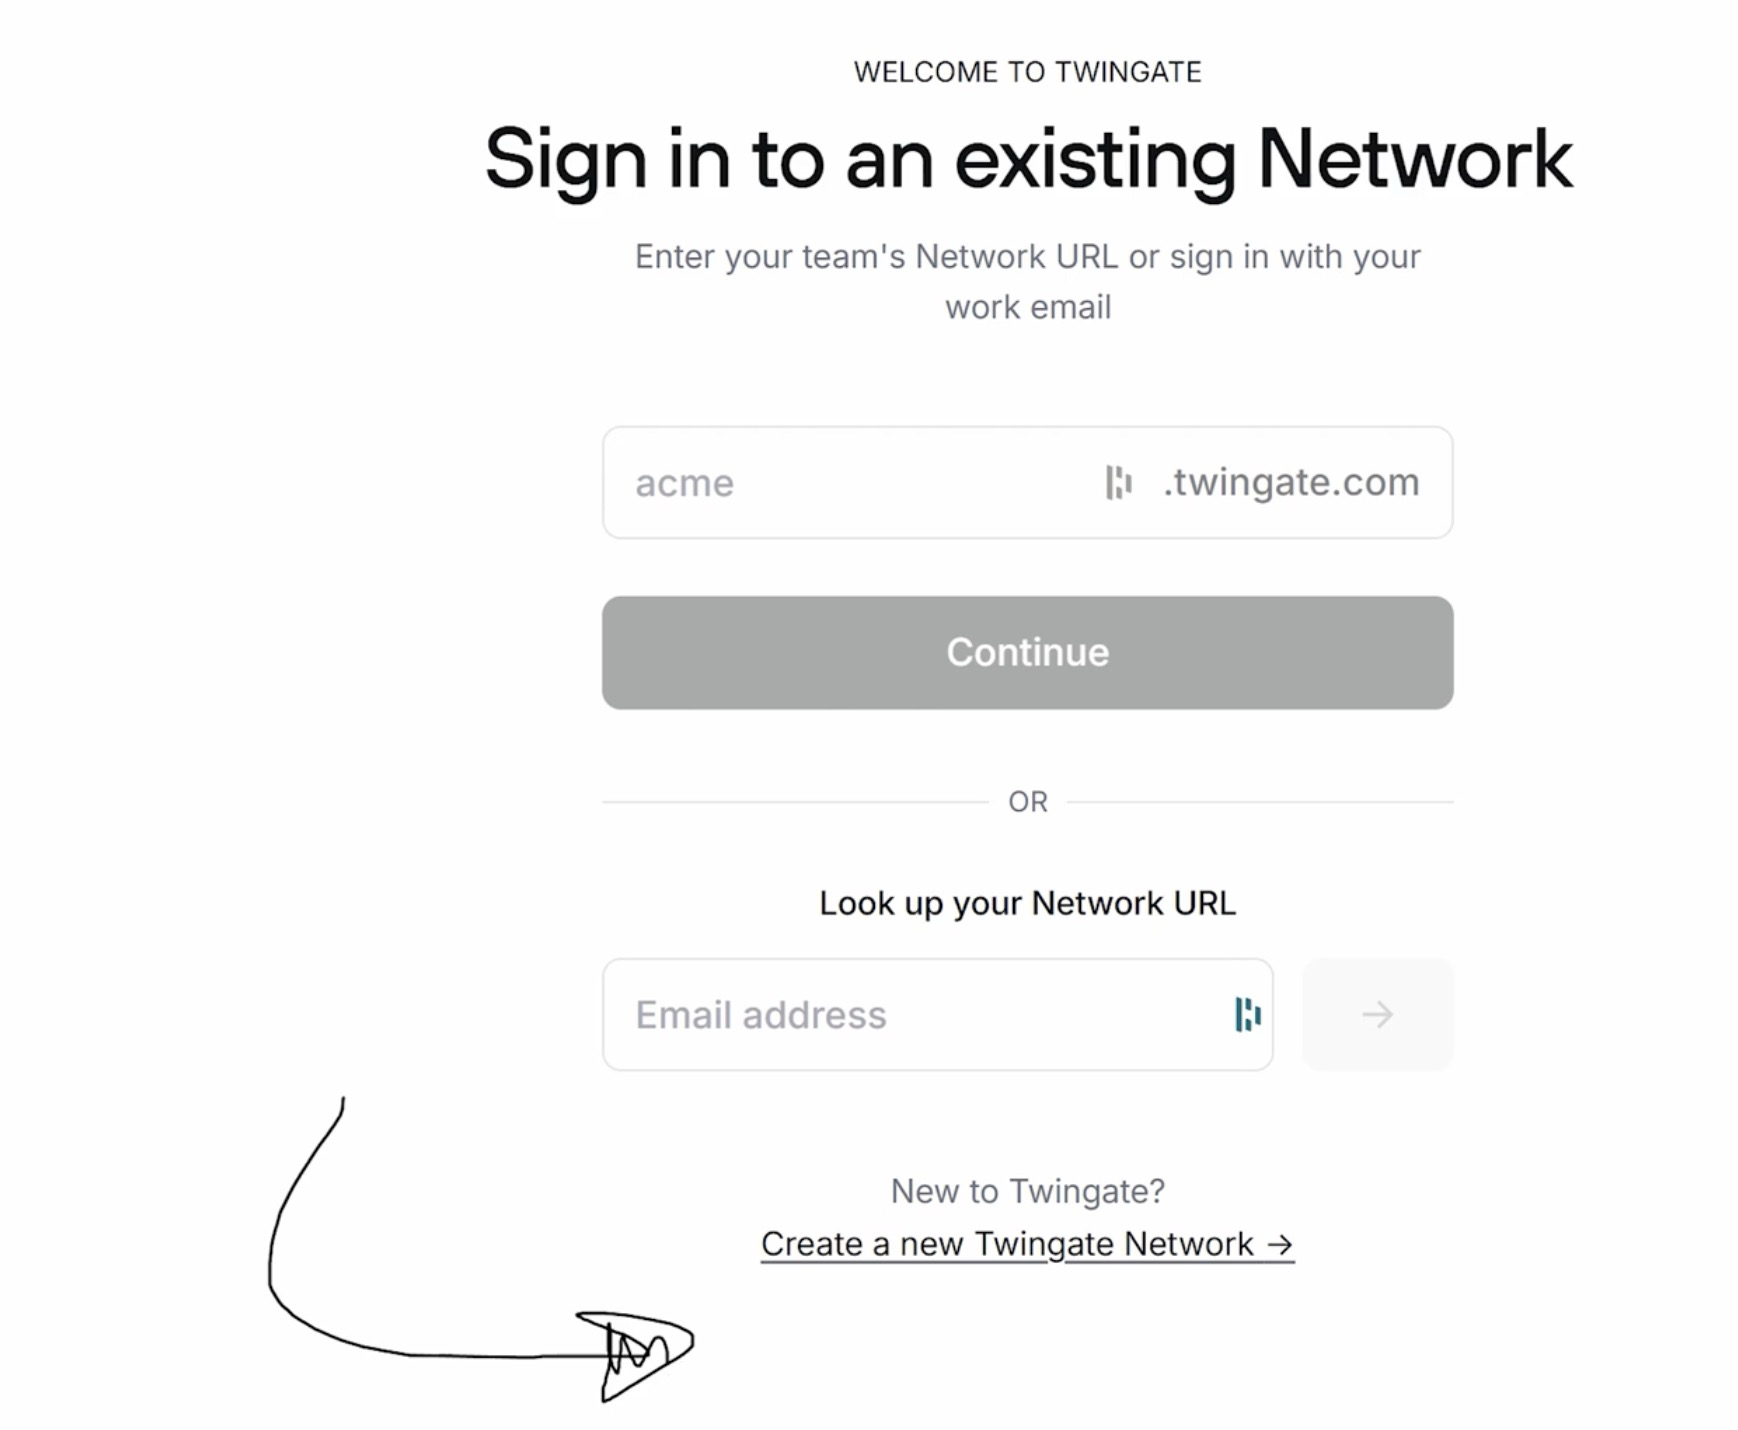
- Sign up for Twingate here: https://ntck.co/twingate_ztna
- You’ll create a new Twingate network
!
Step 2 - Add your first remote network#
You will be prompted to go through a wizard, we can skip that for now.
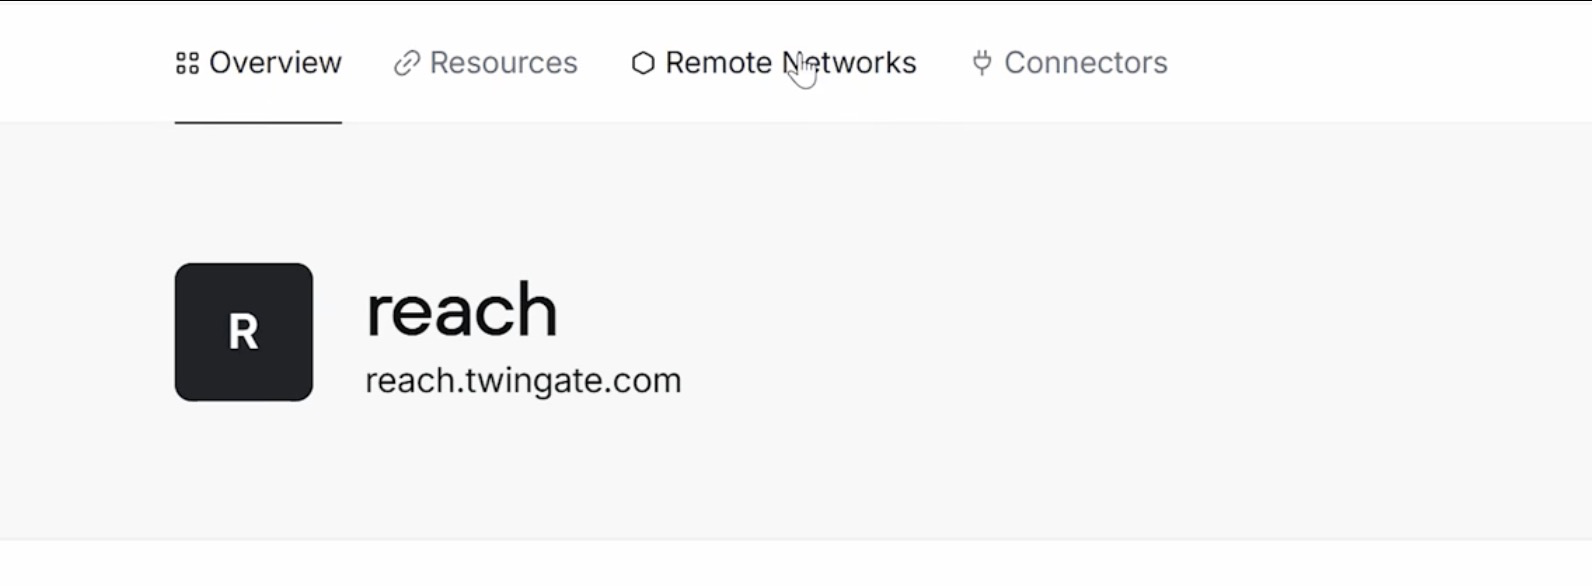
- Click on Remote Networks
!
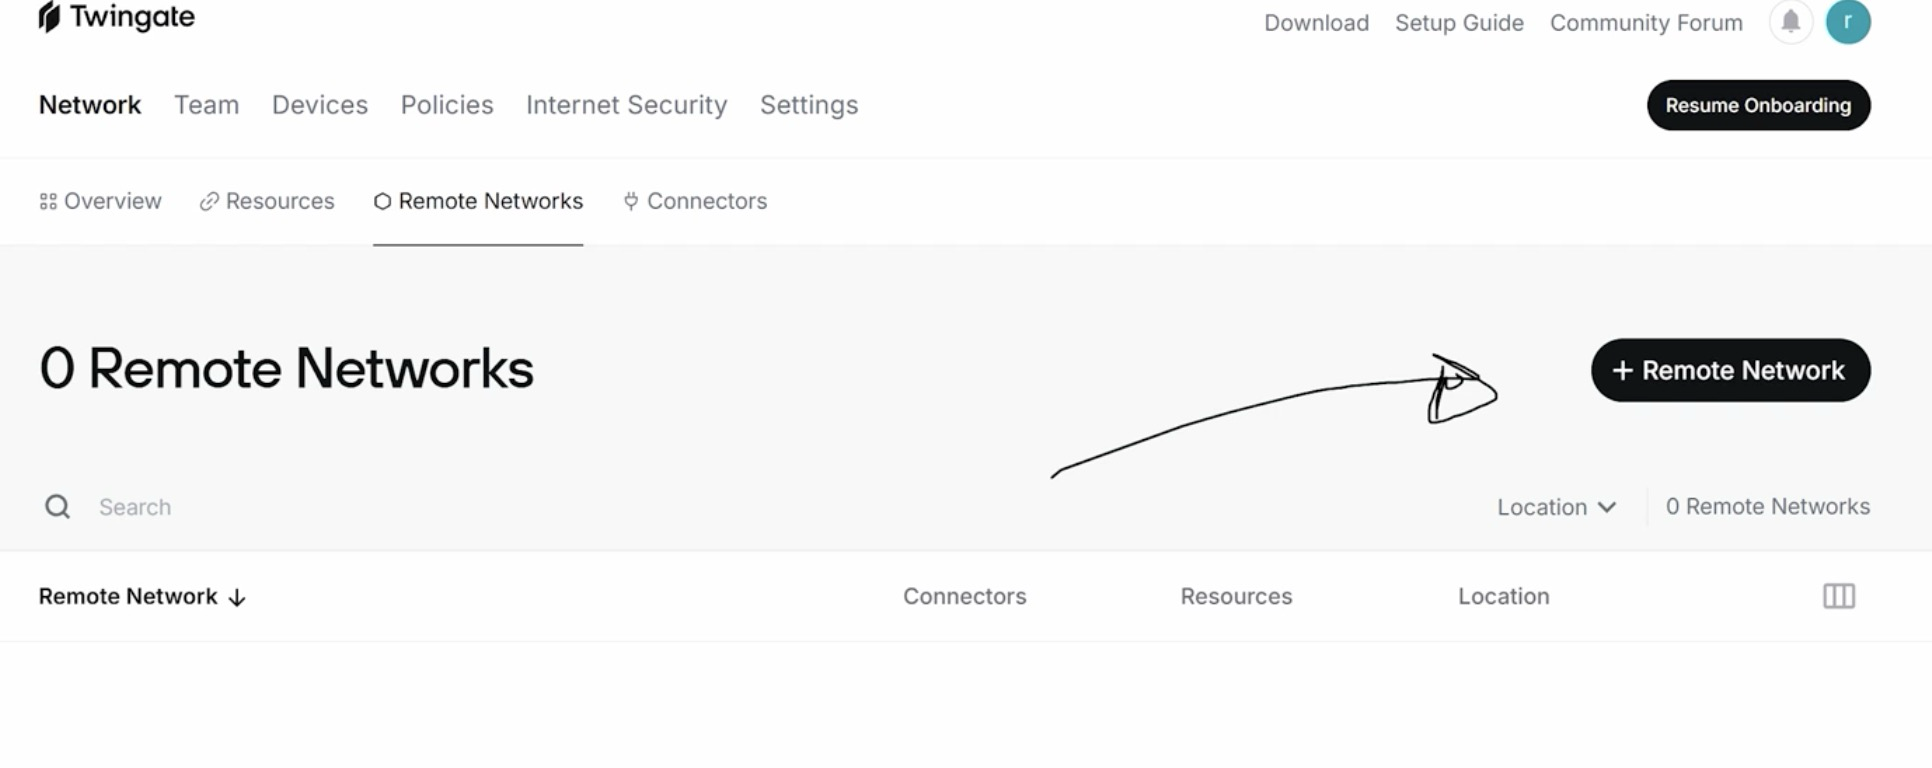
- And then add a Remote Network
!
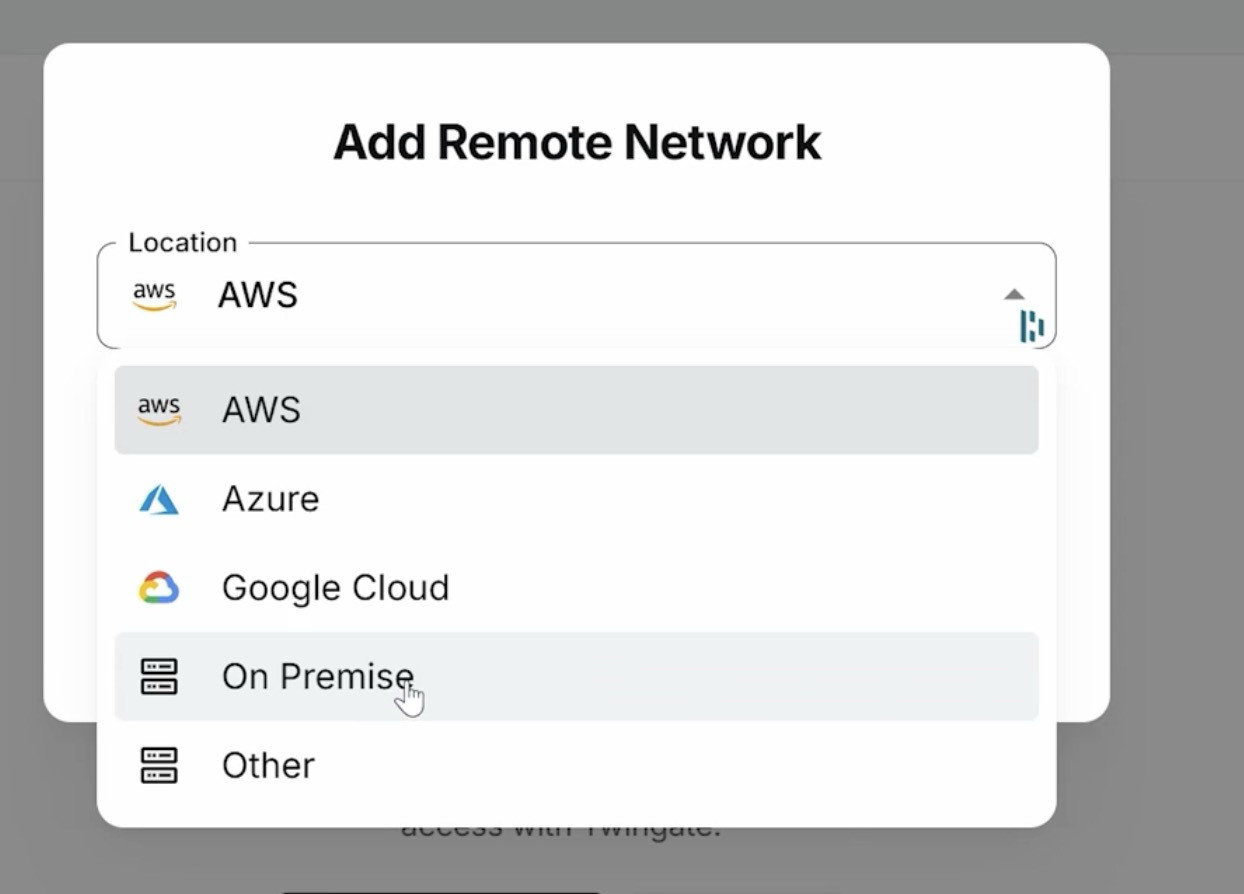
- Choose on-premise for location
!
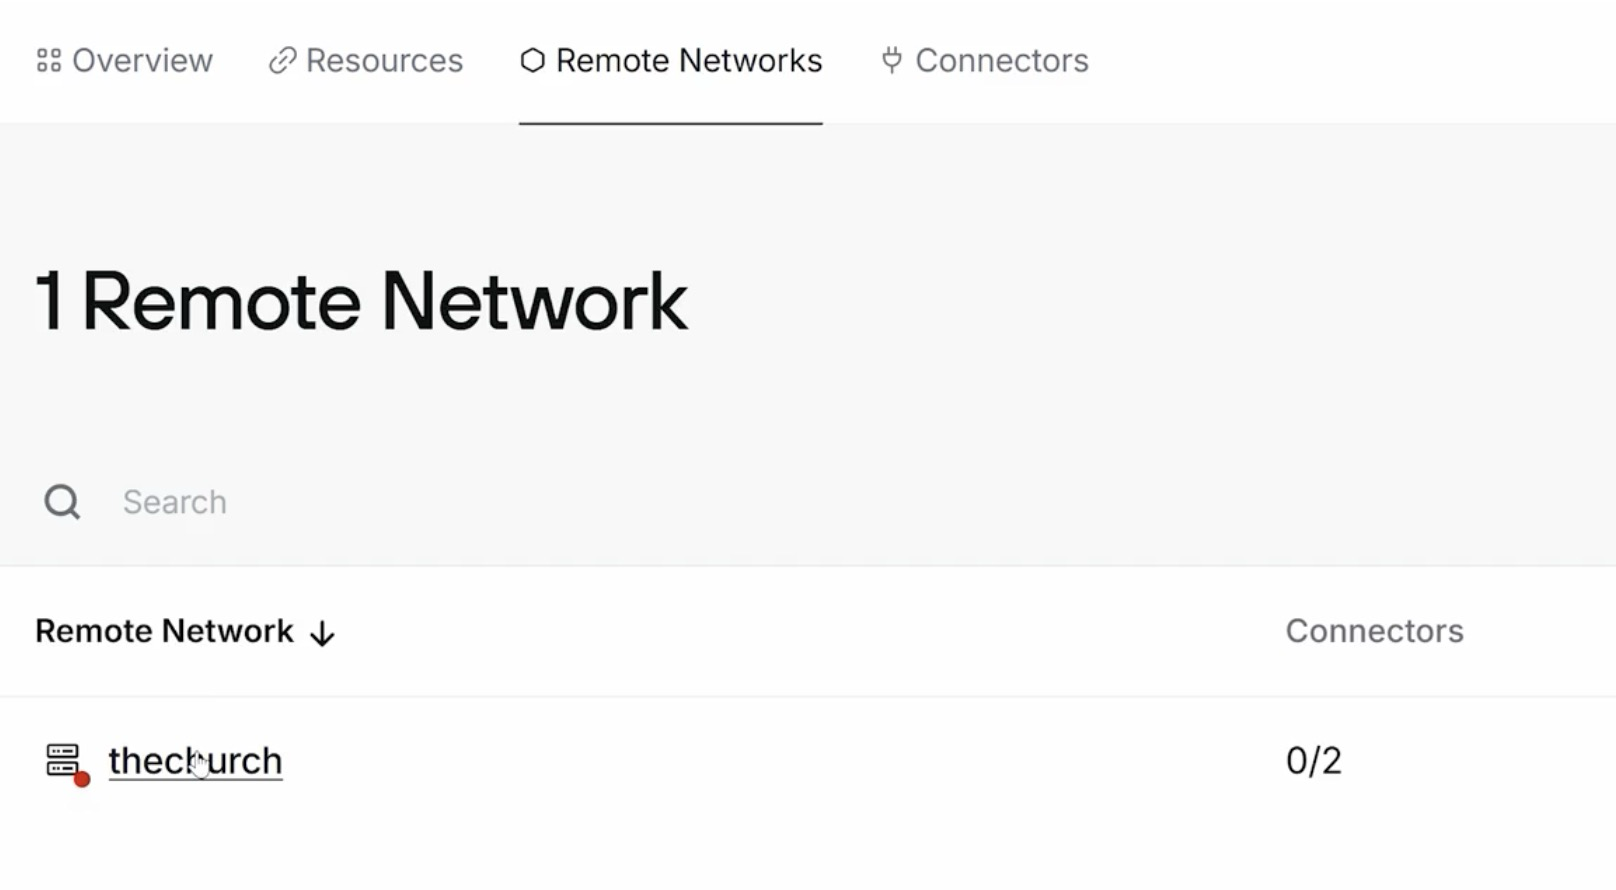
- Once created, we’ll click on the remote network link to jump in and add more config…like adding a connector.
!
Step 2.5 - Prep your Hacker Dropbox#
- This will vary based on what device you choose but this will normally involve installing a compatible OS (64-bit Linux OS) and getting access to your device via CLI.
- I demo flashing an SD-card for the Raspberry Pi 4 in the video.
Step 3 - Adding a connector for your remote network#
The connector, in our case, will be the Hacker Dropbox, a linux-based device running Twingate software, aka, The Connector
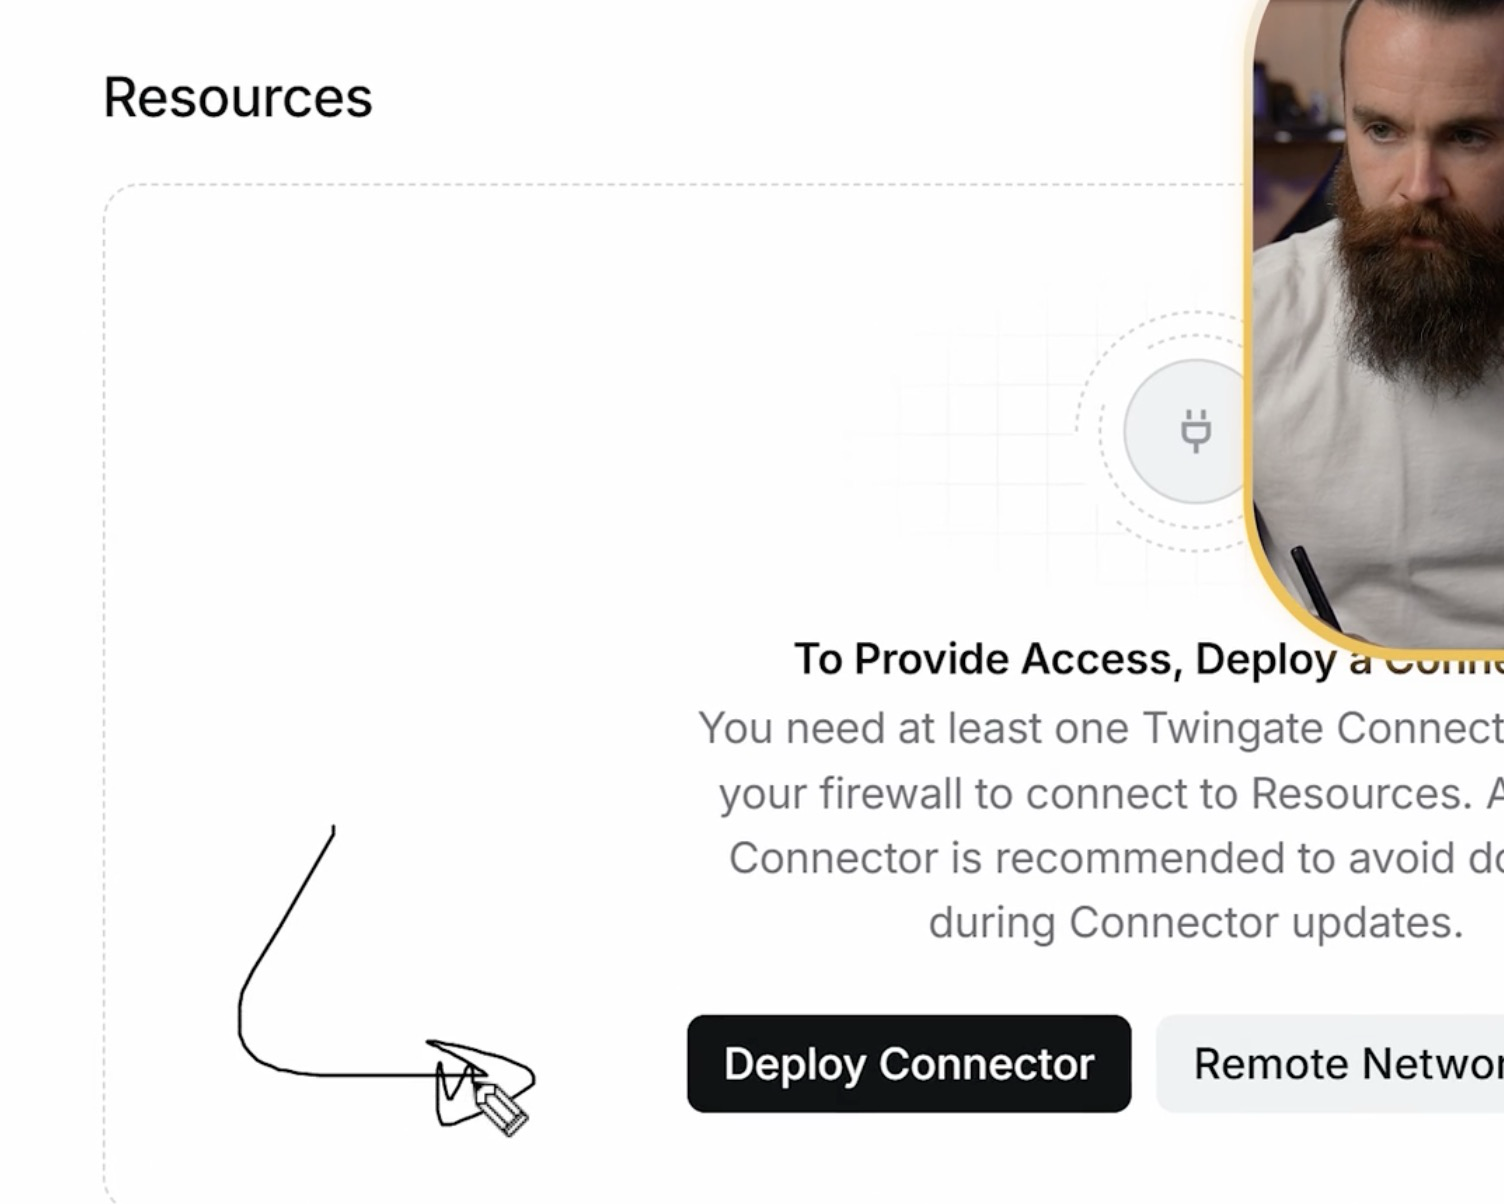
- Click on Deploy Connector
!
- Good practice, run
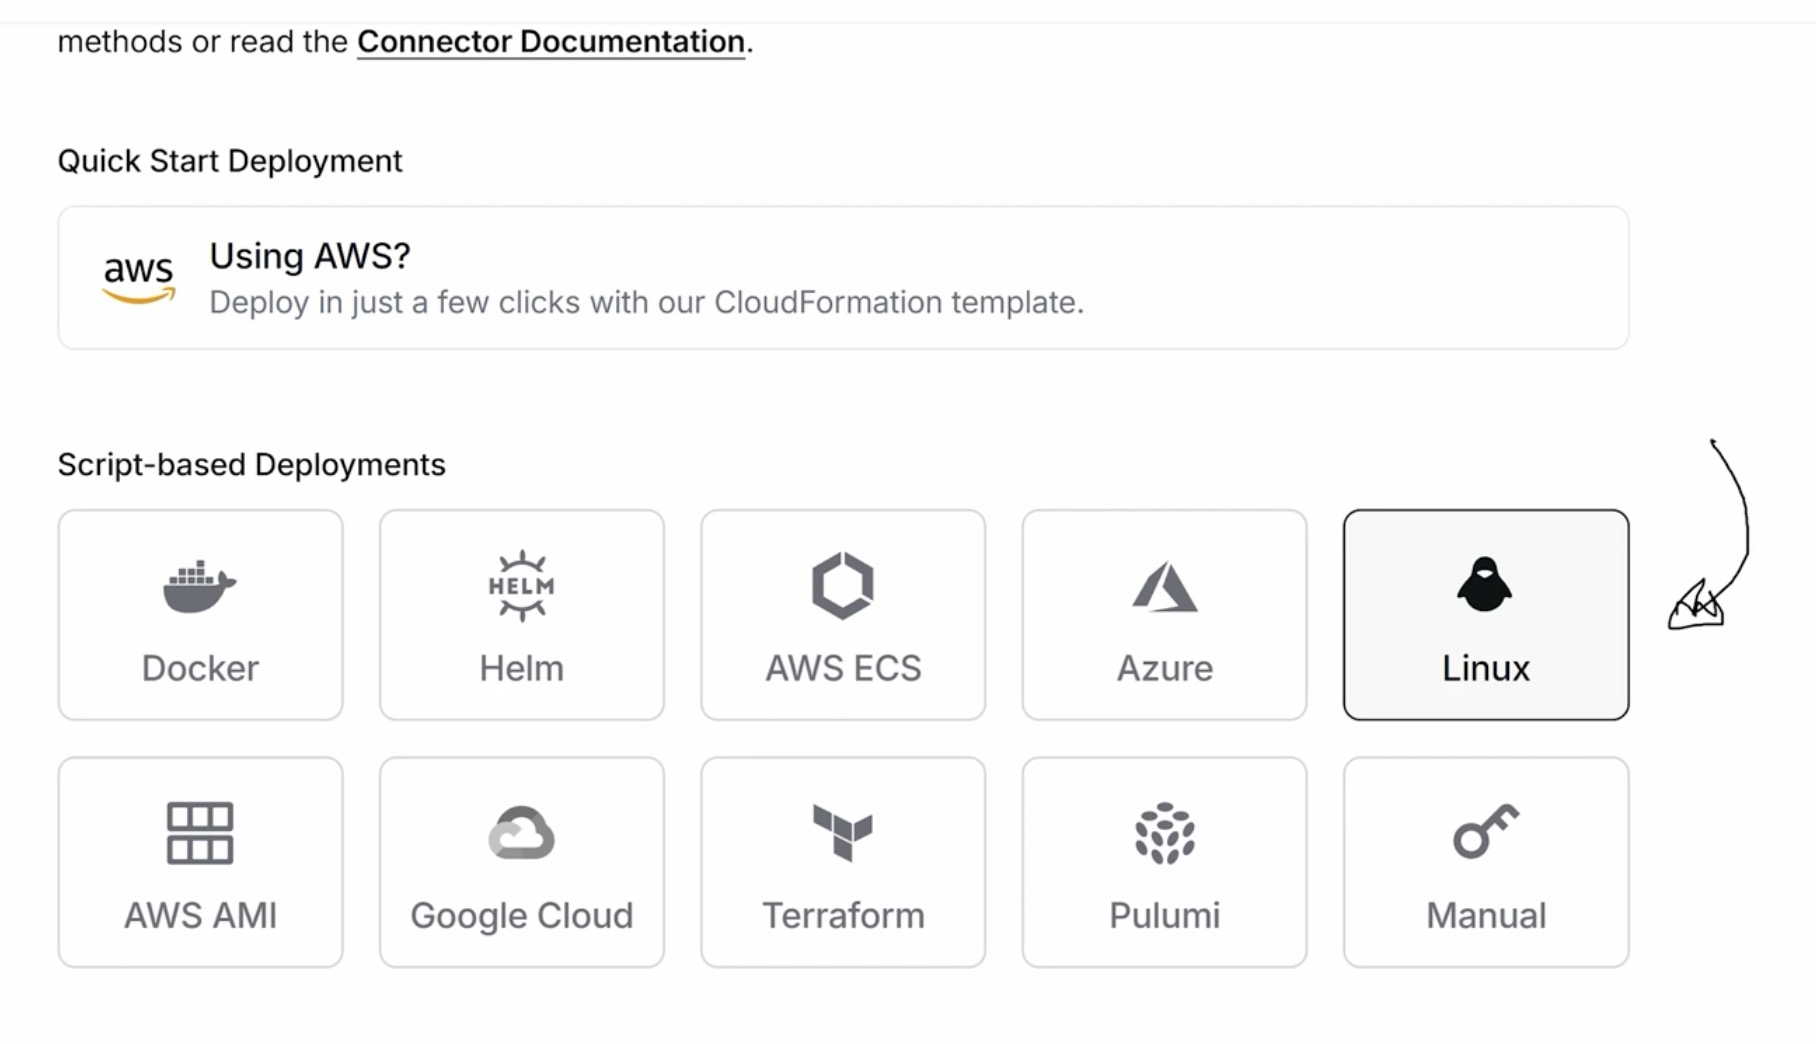
sudo apt updateto make sure all your repos are up-to-date (this will different for you if you are running something that isn’t Debian-based) - For the Raspberry Pi example, we are installing the Twingate connector directly on the OS, no container. So we’ll select Linux as our option.
!
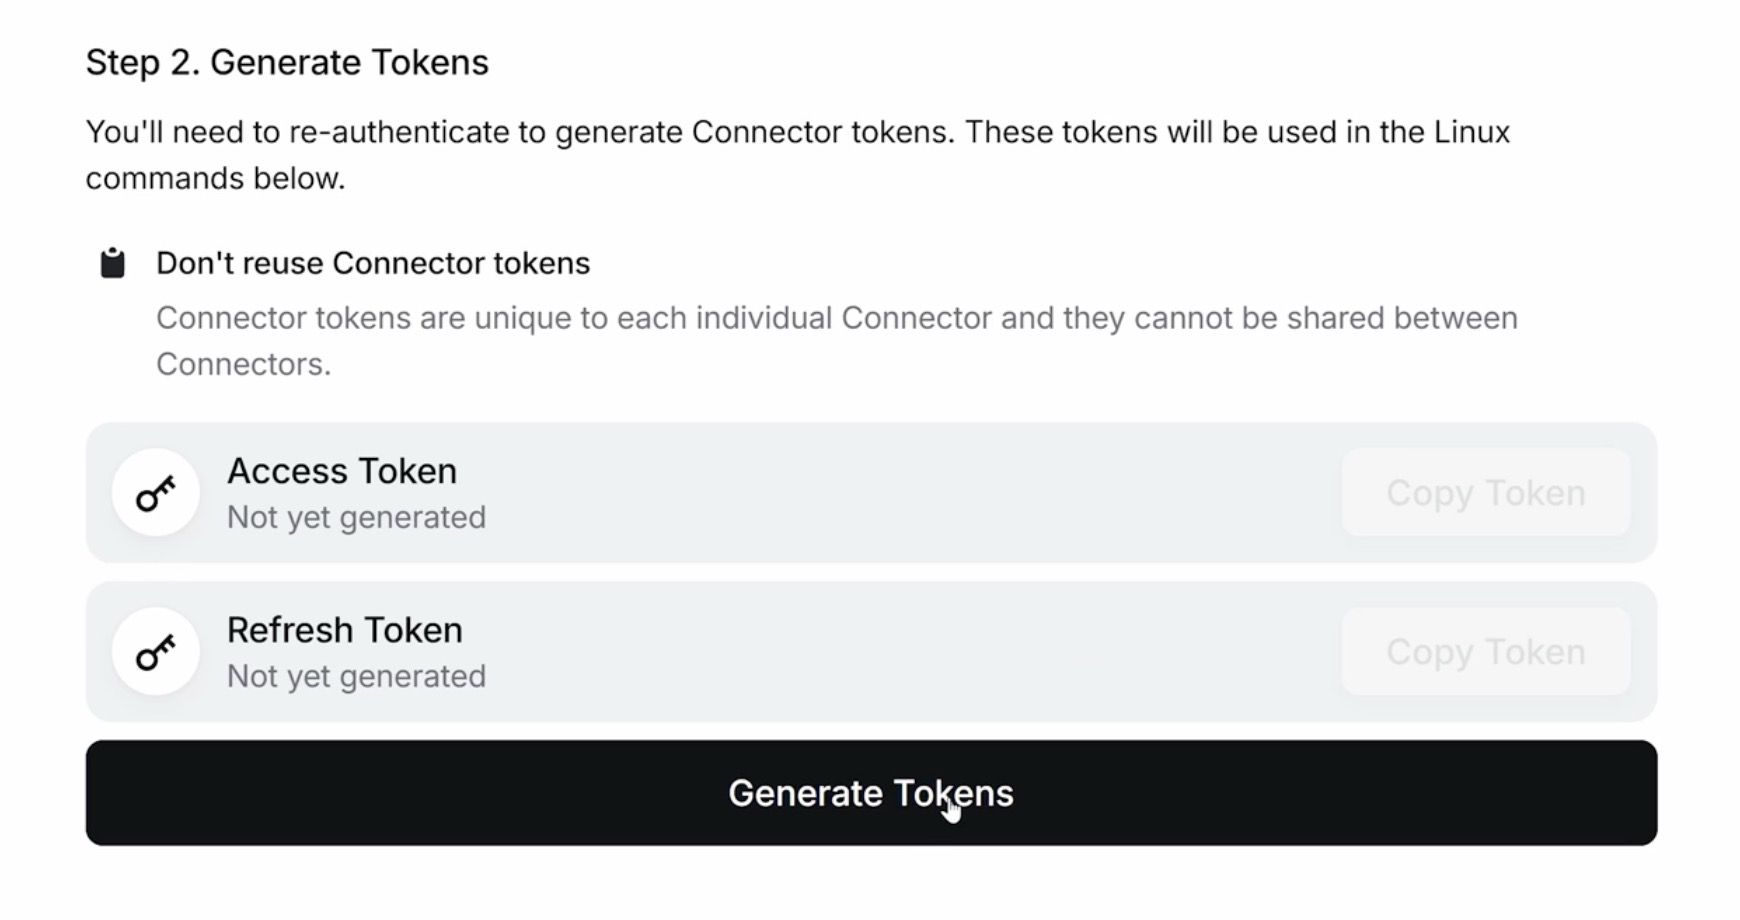
- Now, generate your access tokens. These will automatically be added the command we’ll use to install Twingate here in a moment.
!
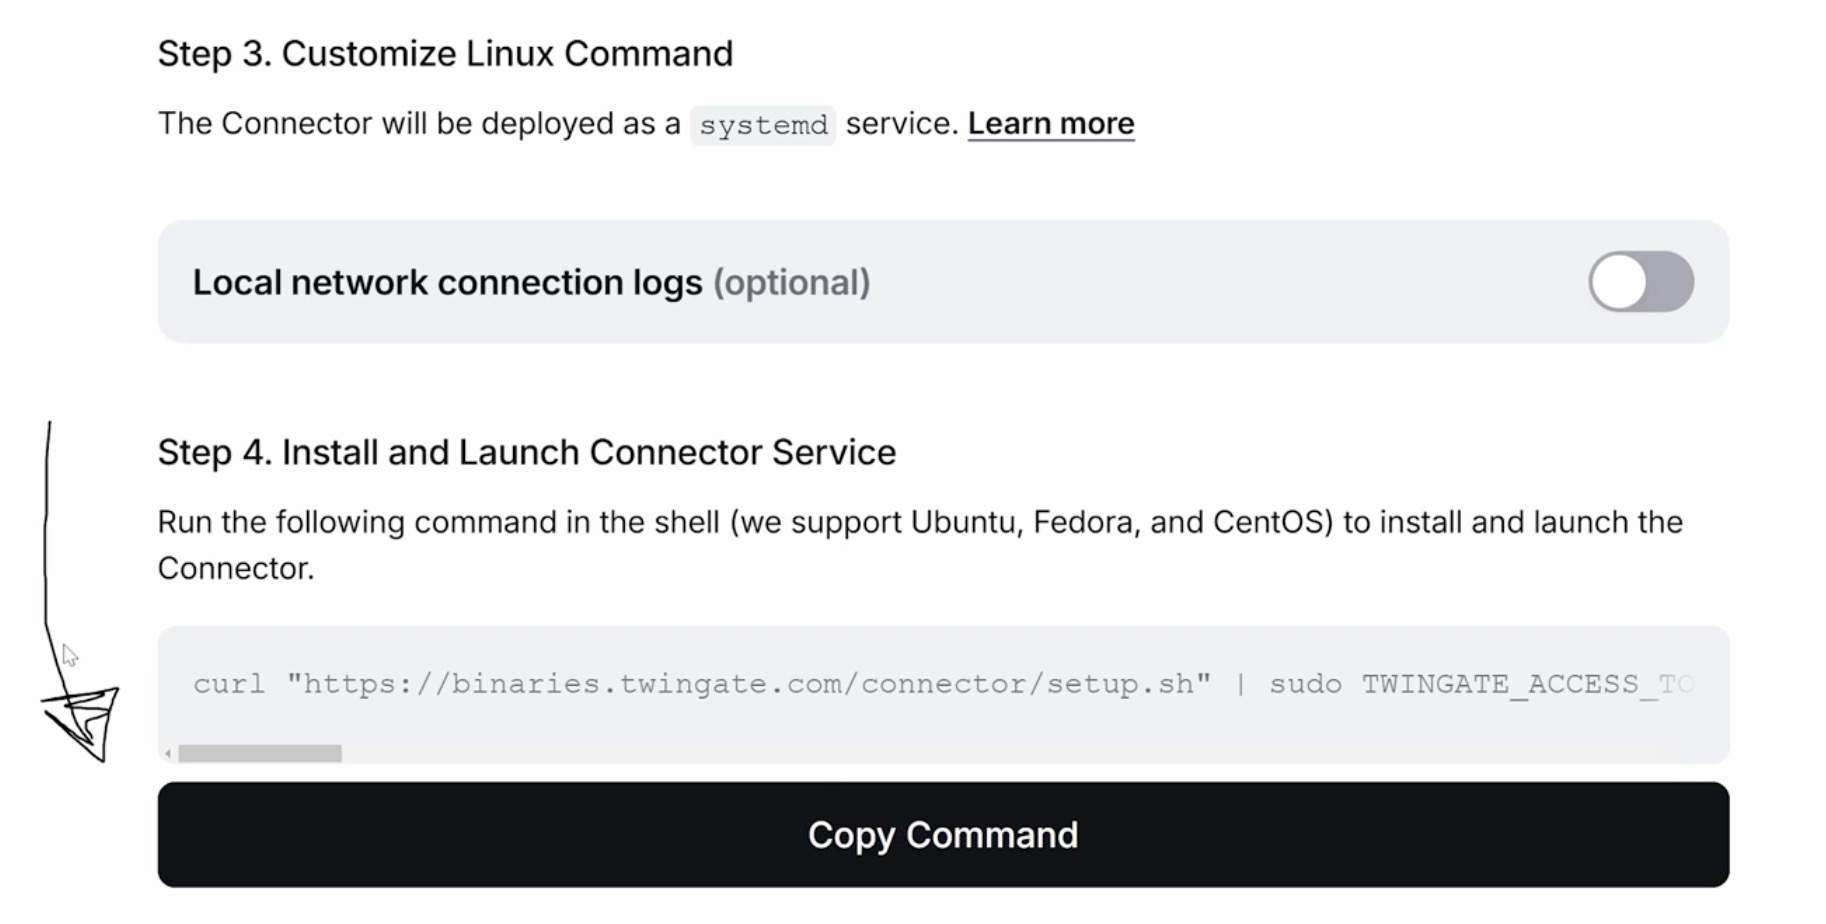
- Copy the provided command
!
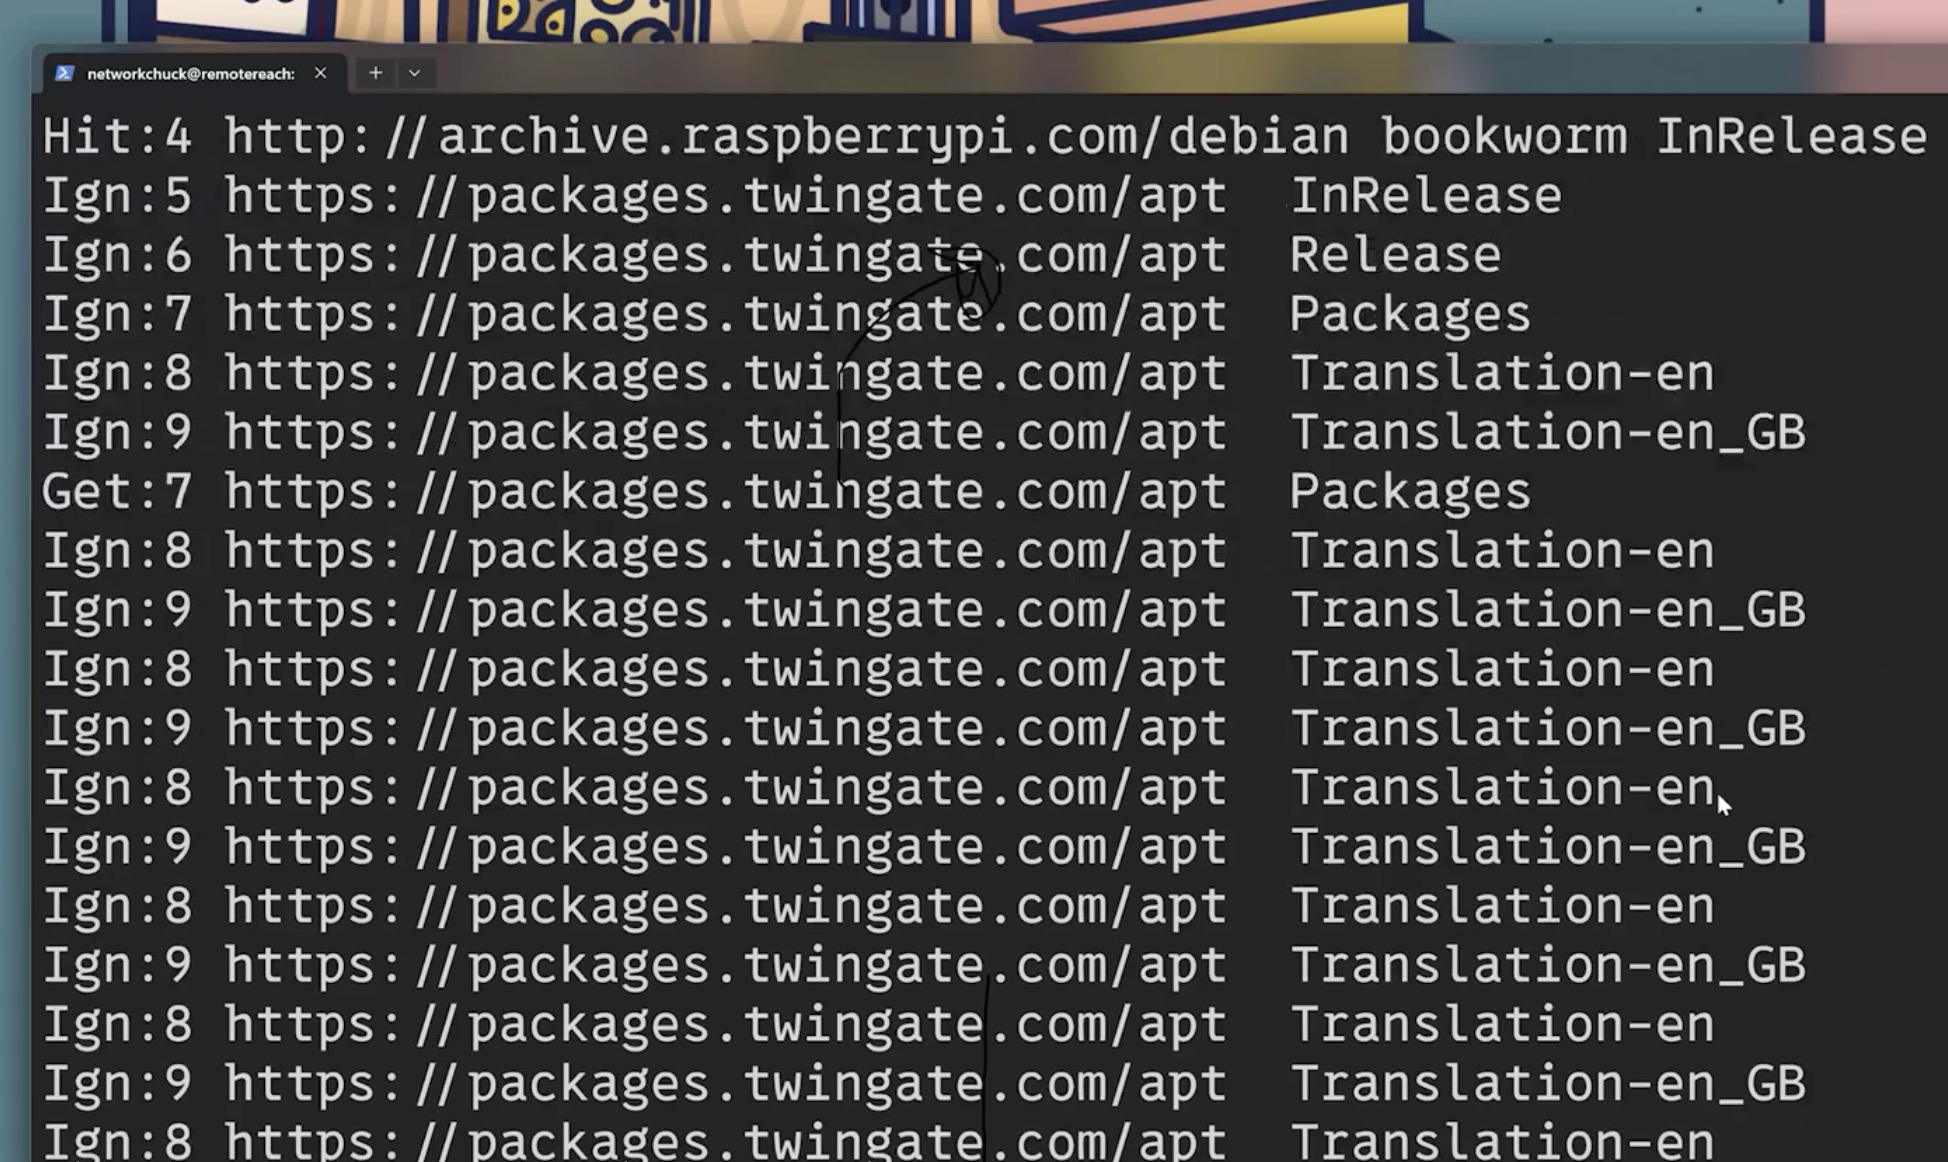
- Paste that command in your terminal and watch the magic happen.
!
!
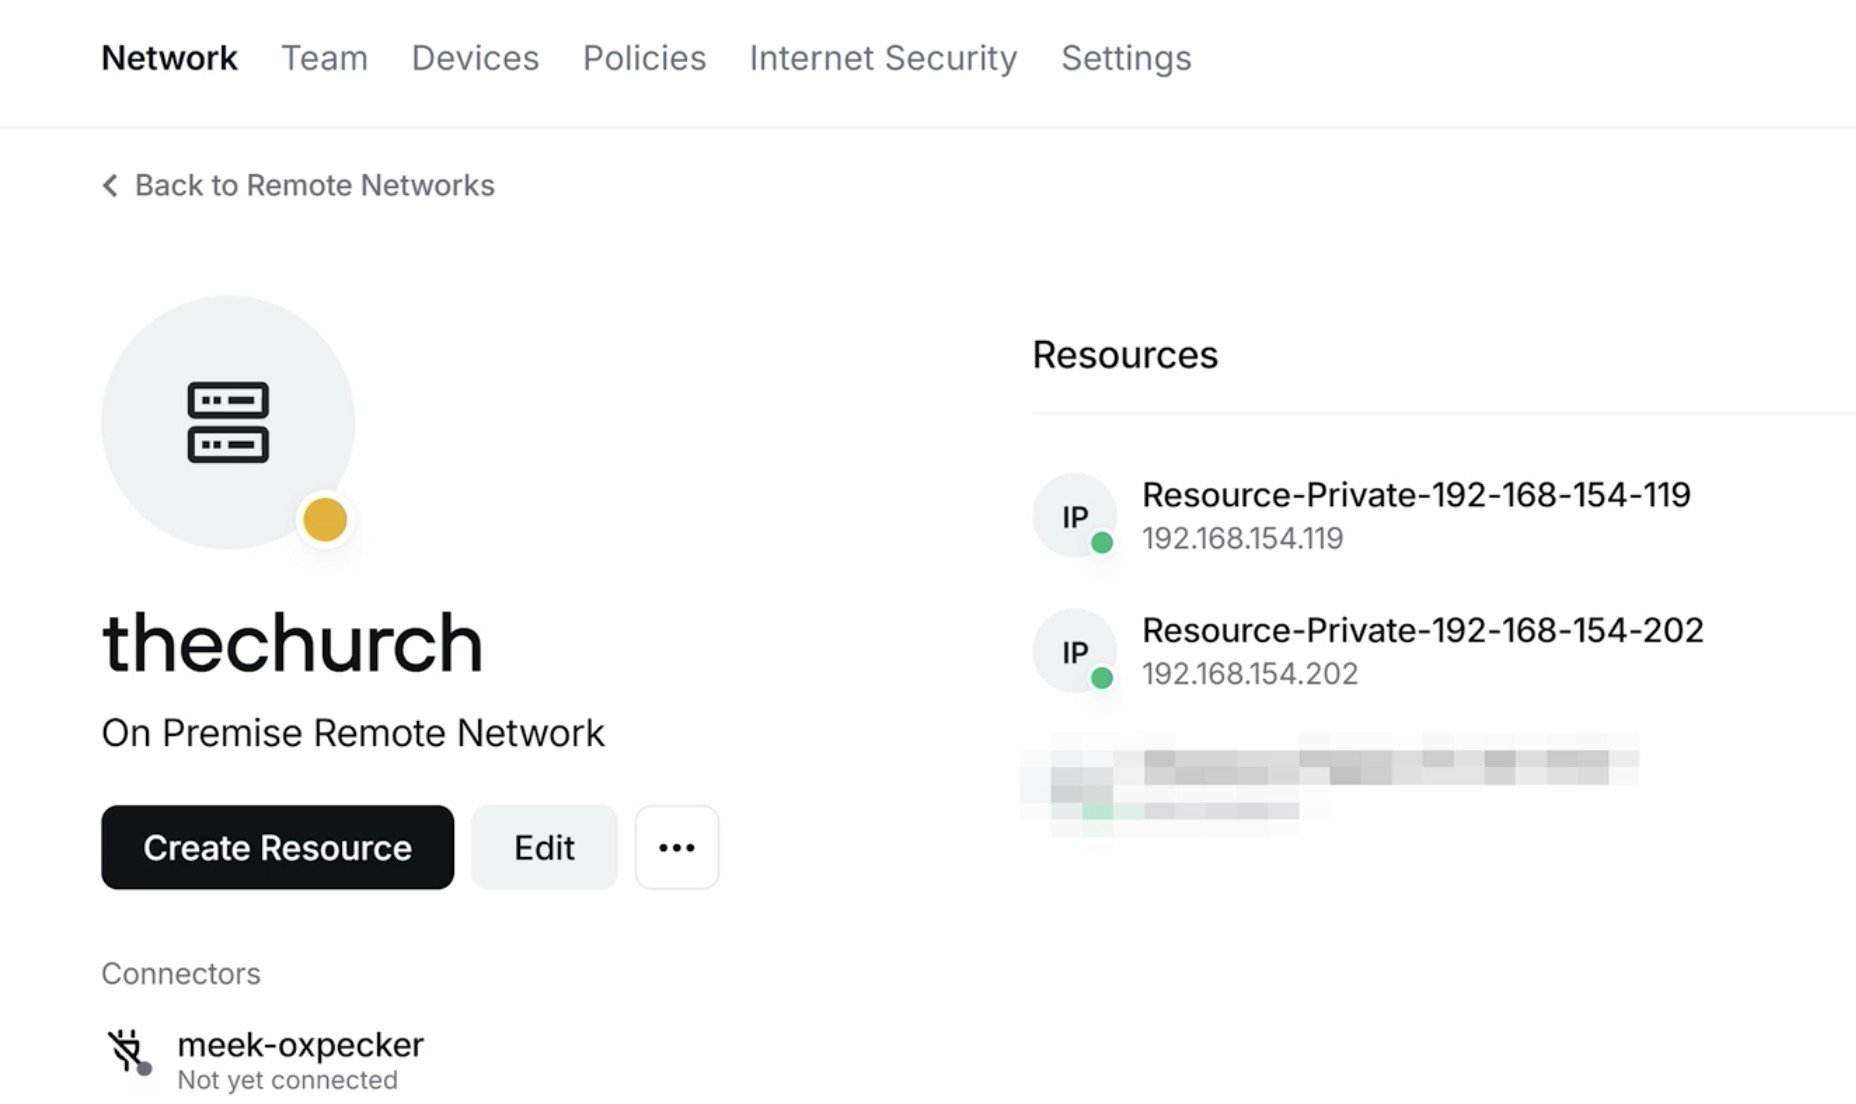
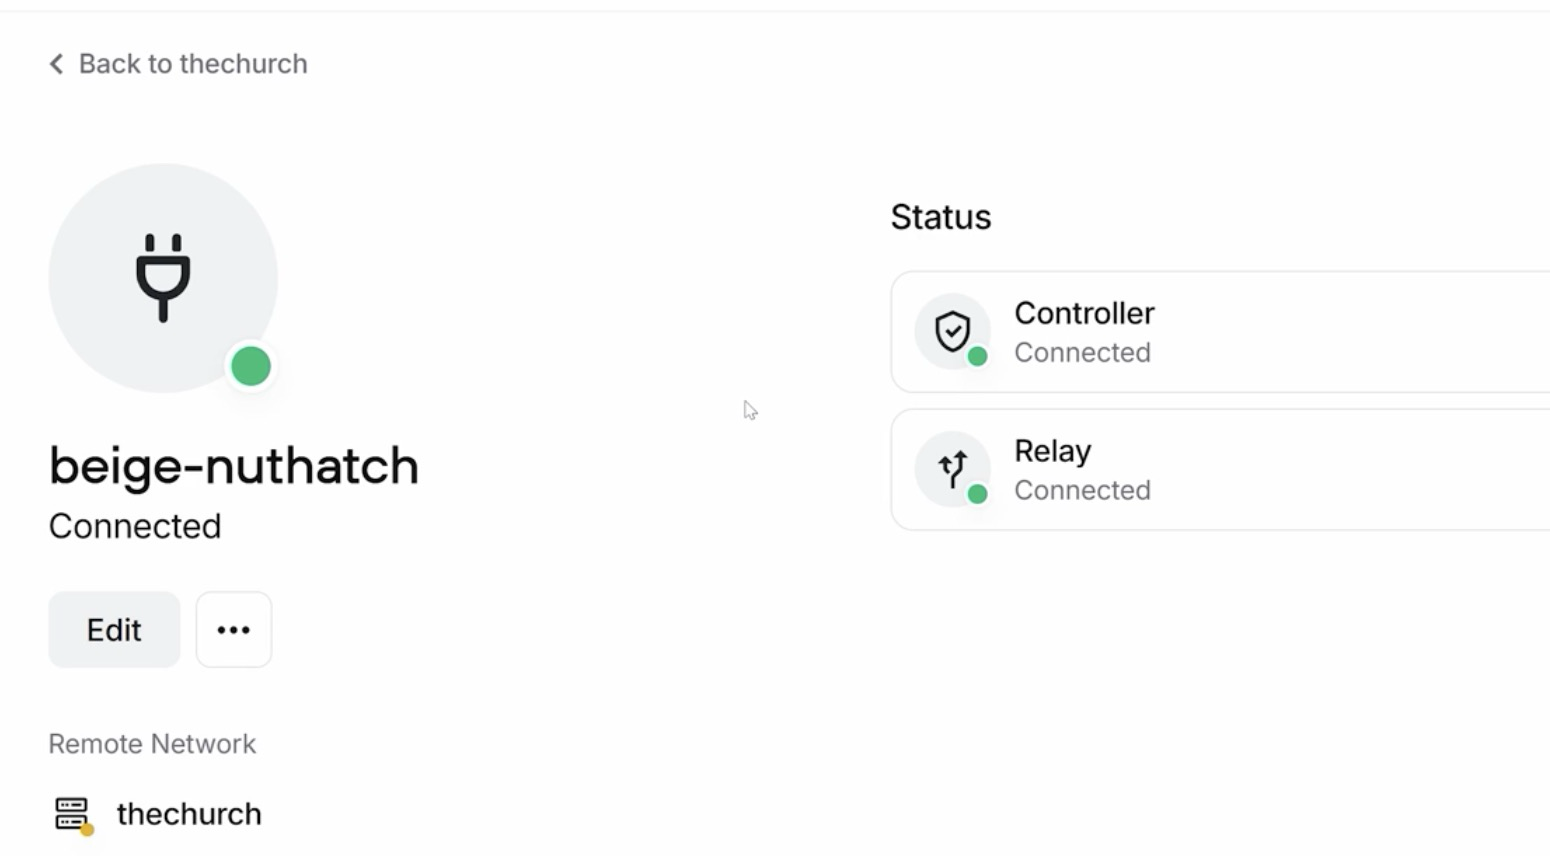
- We are actually….done. Check Twingate to see if your connector is up.
!
Step 4 - Add a remote WiFi Network (if not using ethernet)#
- This will be Raspberry Pi specific.
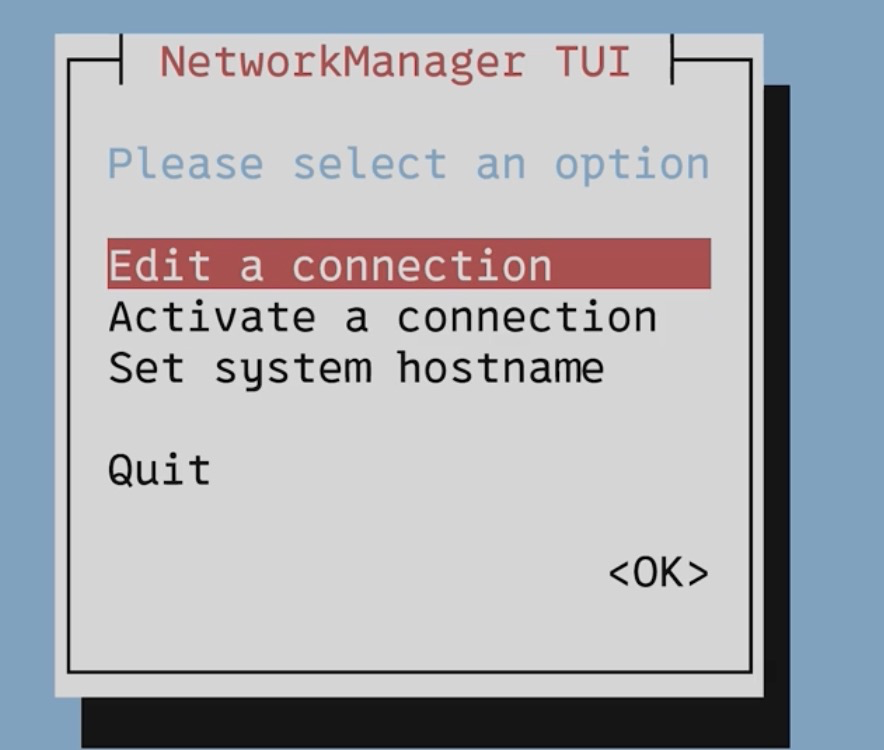
- Run this command to access the NetworkManager TUI
sudo nmtui
- Edit a connection
!
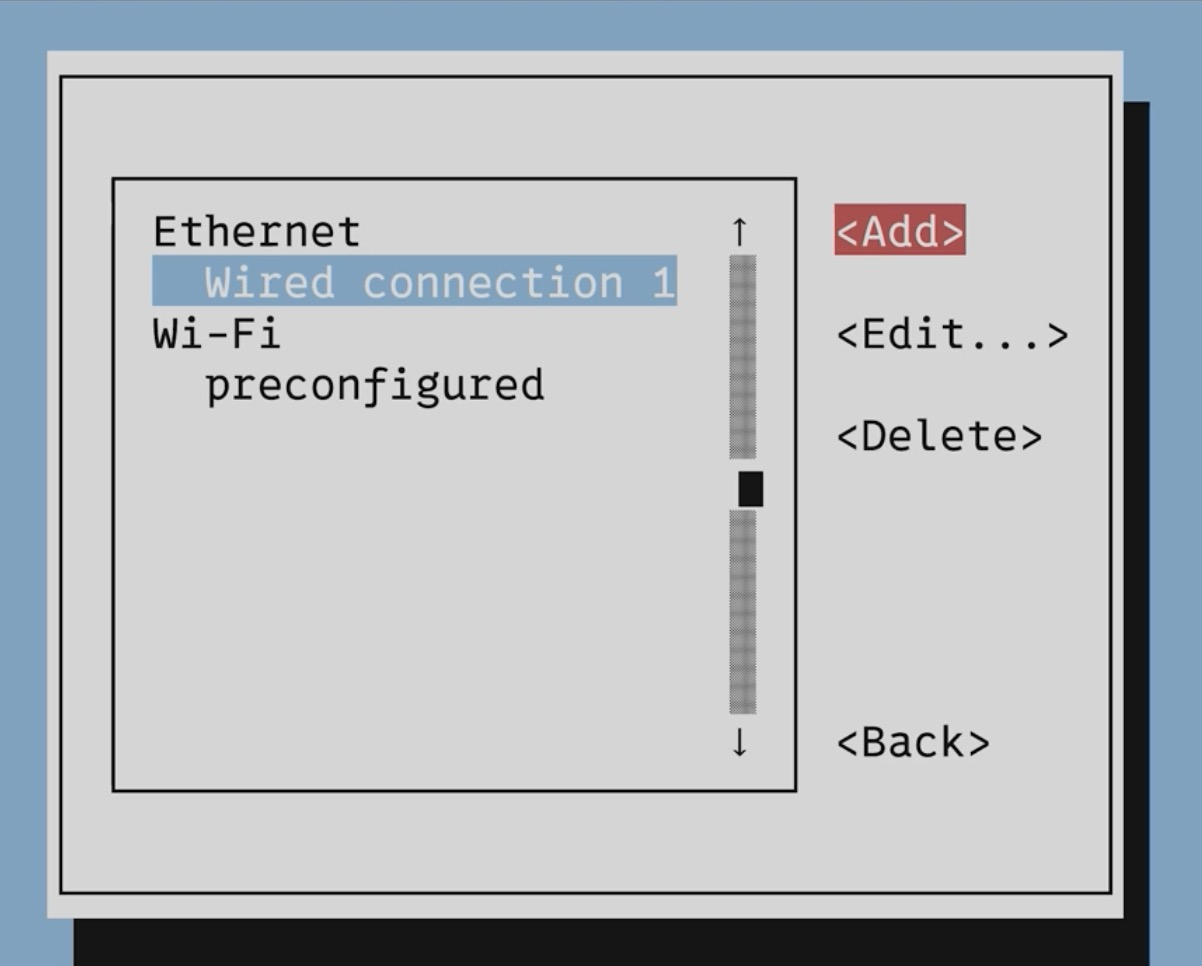
- Select Add
!
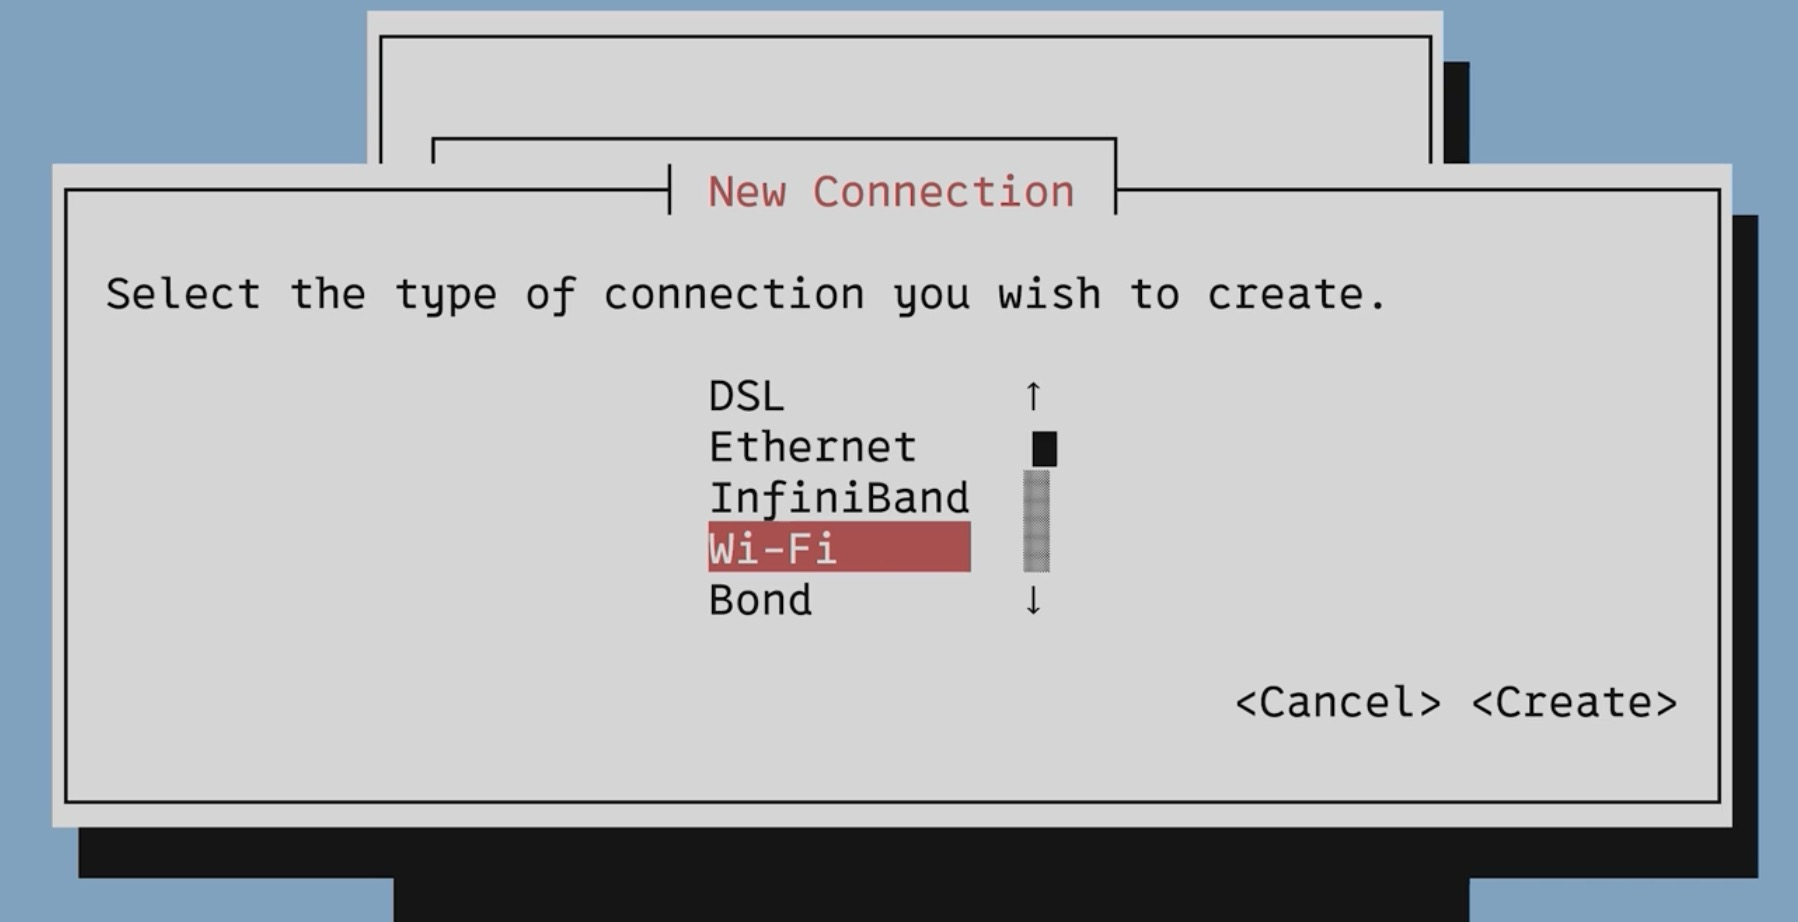
- Select WiFi
!
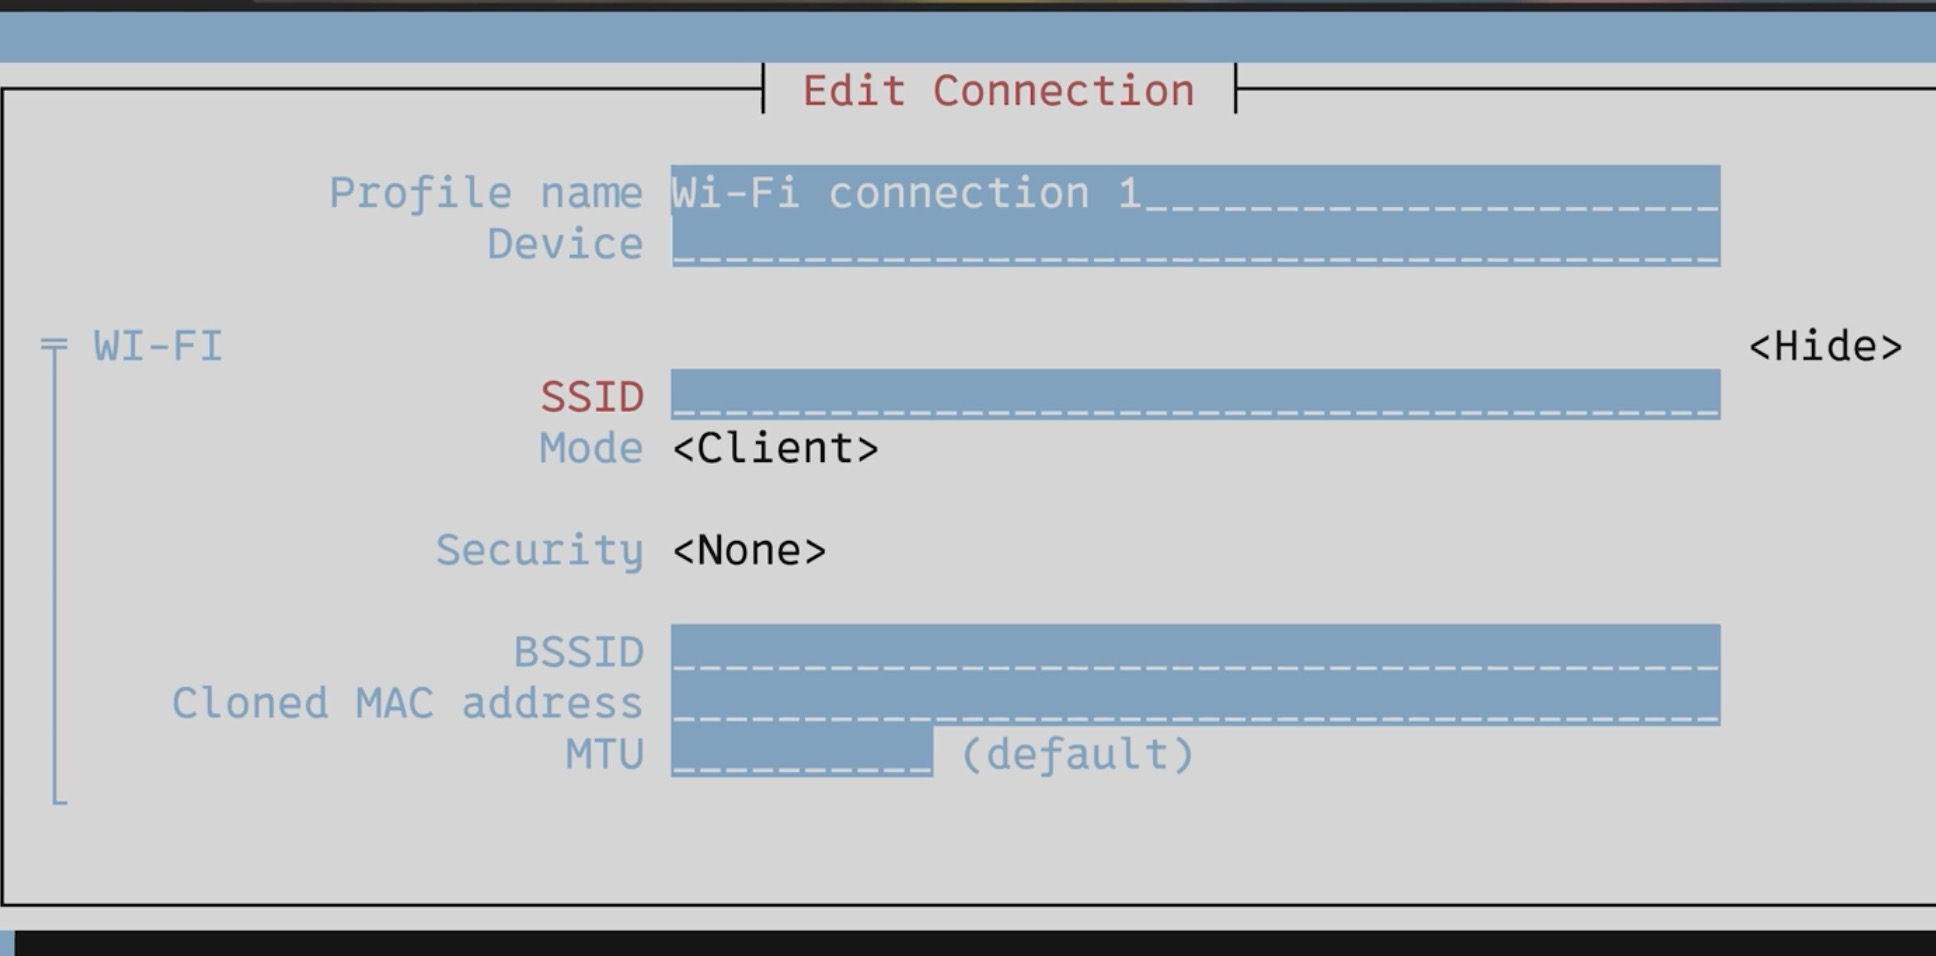
- Add SSID and Password (you’ll need to know this for the remote network)
!
- Select Ok and then hit ESC to save and get out of there.
Step 5 - Use the Twingate API to learn about the remote network#
You only need this option if this is a network you are unfamiliar with. So, for example, you might be offering remote support for your family and you will likely already know their network, 192.168.1.0/24 (for example) and you may have set the static IP address of your Hacker Dropbox and can easily, manually add this as a resource in Twingate.
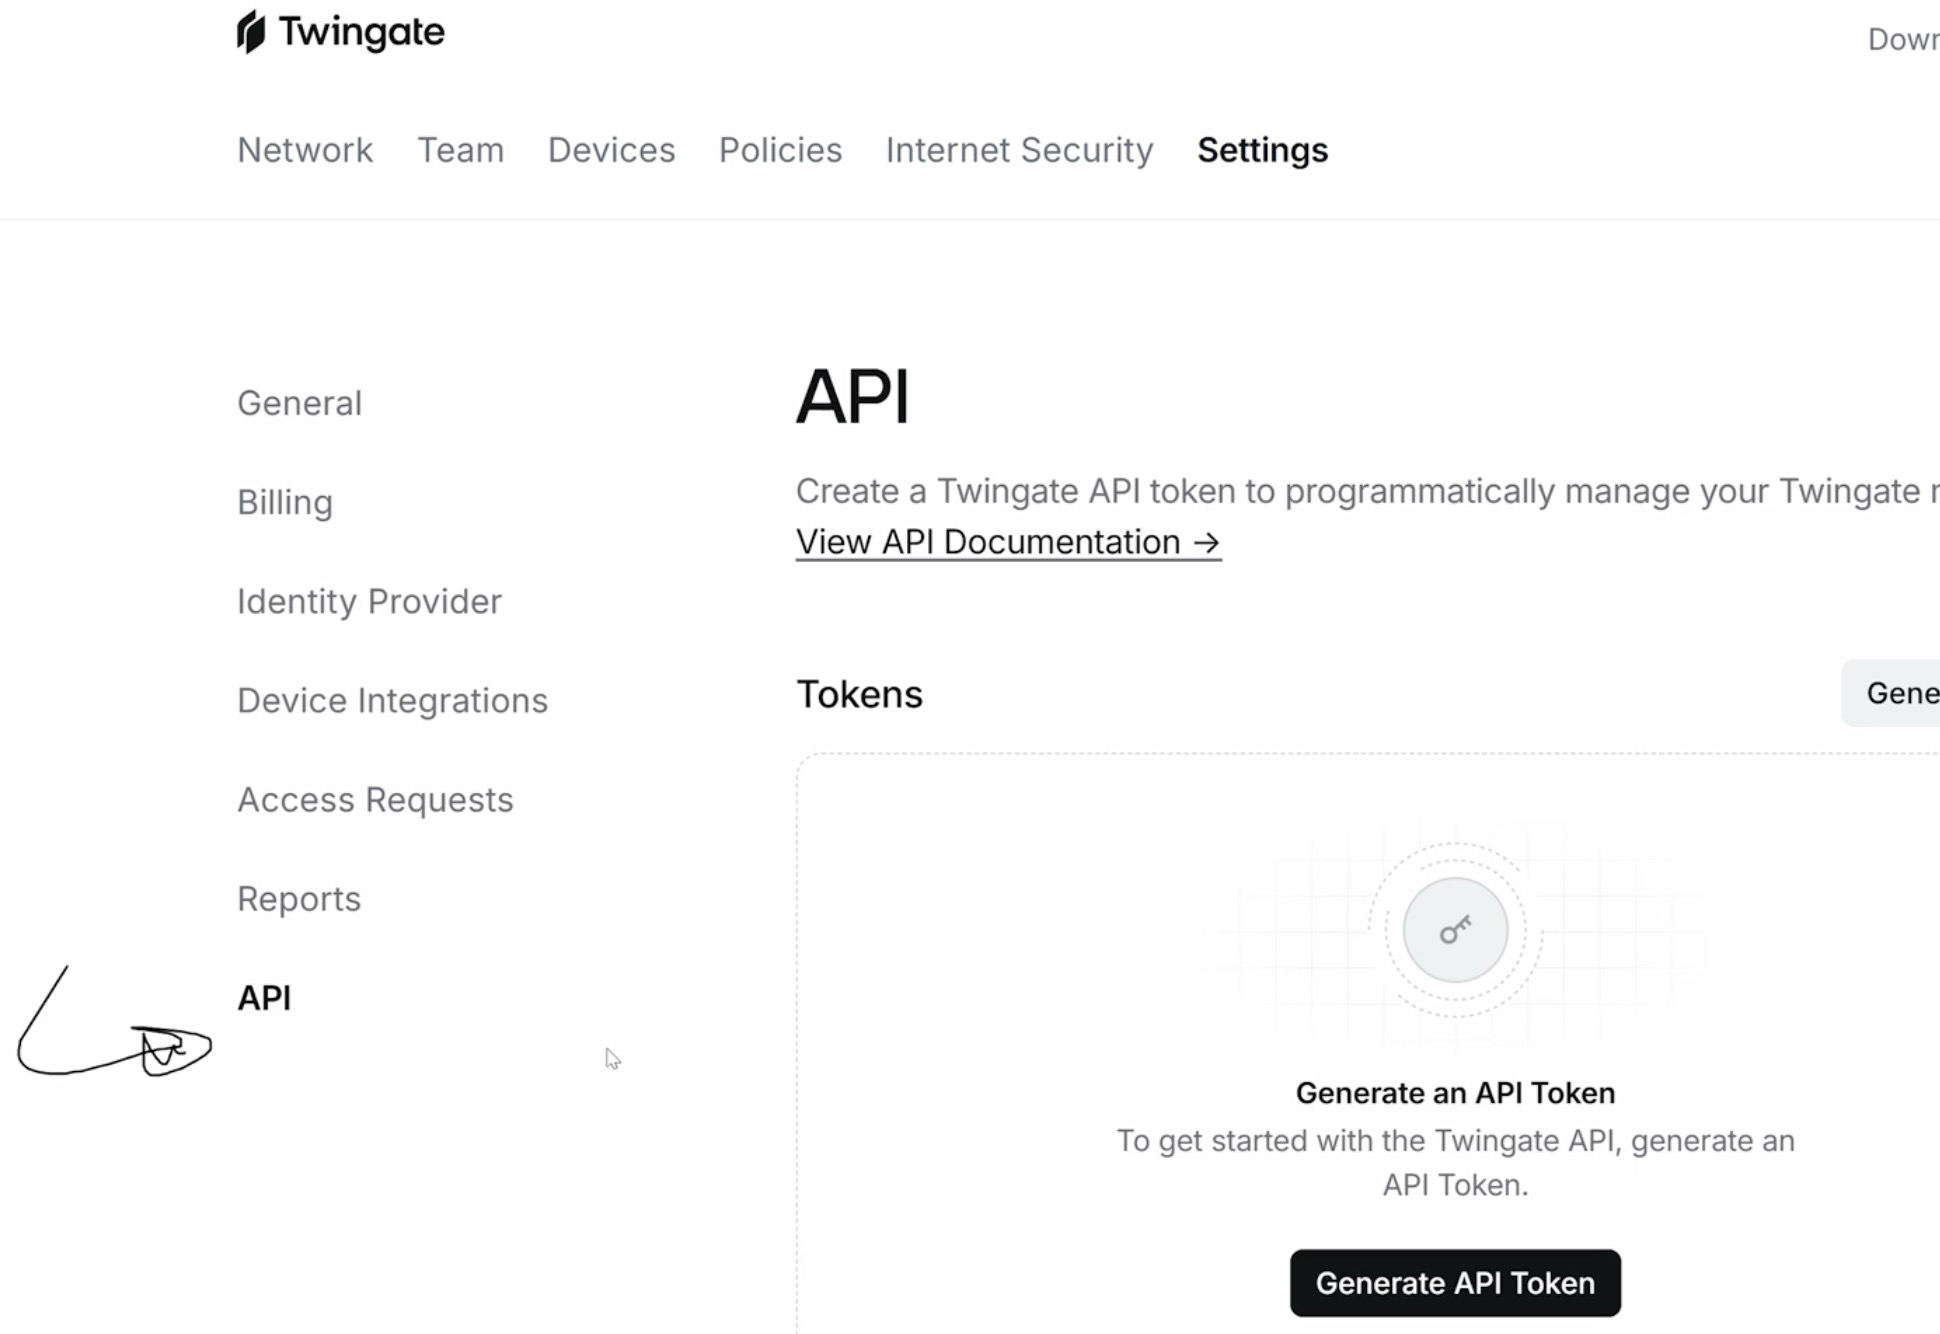
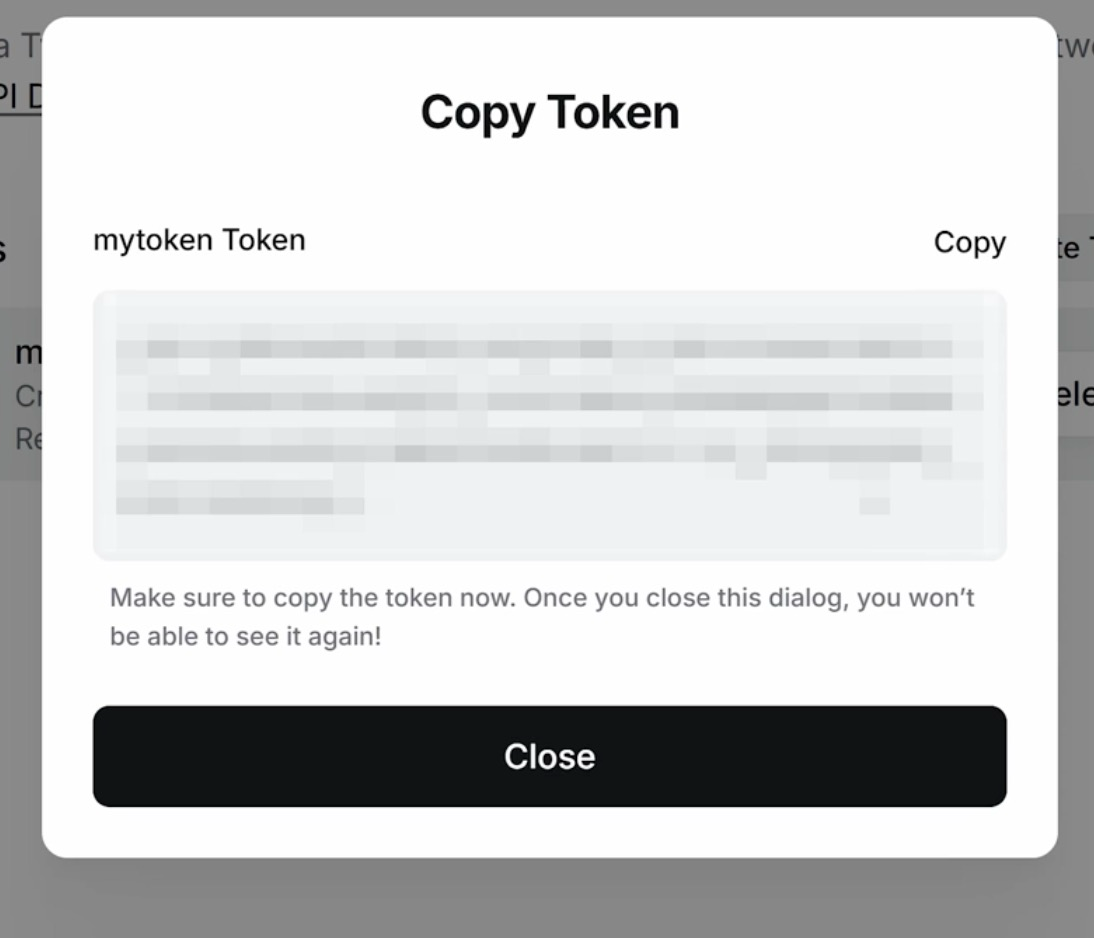
- Generate an API token
!
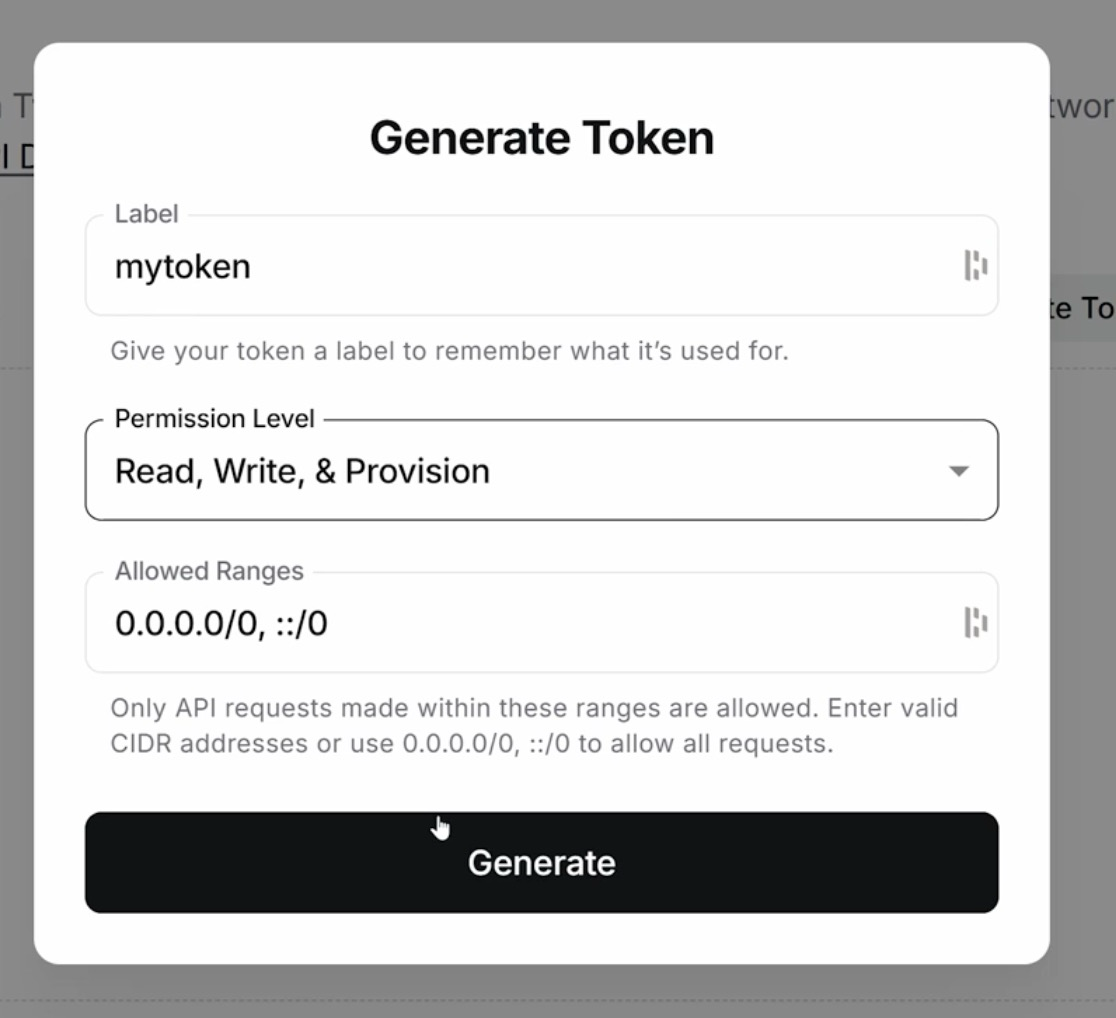
- Our script will be provisioning resources so we’ll need to give it a good amount of access.
!
- Copy that key and put it somewhere safe.
!
Run the Python Script#
- You’ll need another computer, can be anything that can run Python. (which…can be anything, Windows, Mac, Linux.)
- You’ll also need Python3 installed, refer to your OS-specific documentation to install Python.
Create the script#
- Create a new python script
nano twingate.py
- paste the following script
- Replace the following variables:
- API_URL
- API_KEY
- TARGET_NETWORK_NAME
from gql import gql, Client
from gql.transport.requests import RequestsHTTPTransport

# Twingate API settings
API_URL = "https://****your Twingate network here****.twingate.com/api/graphql/"  # Replace <subdomain> with your Twingate subdomain
API_KEY = "YOUR TWINGATE API KEY"
TARGET_NETWORK_NAME = "YOUR REMOTE NETWORK"  # Replace with your target network name

QUERY_REMOTE_NETWORKS = gql("""
query GetRemoteNetworkDetails {
  remoteNetworks(after: null, first: 10) {
    edges {
      node {
        id
        name
        connectors {
          edges {
            node {
              id
              name
              publicIP
              privateIPs
              remoteNetwork {
                id
                name
              }
            }
          }
        }
      }
    }
  }
}
""")

MUTATION_CREATE_RESOURCE = gql("""
mutation CreateResource($name: String!, $address: String!, $remoteNetworkId: ID!) {
  resourceCreate(
    name: $name,
    address: $address,
    remoteNetworkId: $remoteNetworkId
  ) {
    ok
    error
    entity {
      id
      name
      address {
        type
        value
      }
    }
  }
}
""")

def setup_client():
    transport = RequestsHTTPTransport(
        url=API_URL,
        headers={"X-API-KEY": API_KEY},
        use_json=True,
    )
    return Client(transport=transport, fetch_schema_from_transport=True)

def get_target_network(client):
    response = client.execute(QUERY_REMOTE_NETWORKS)
    for edge in response["remoteNetworks"]["edges"]:
        network = edge["node"]
        if network["name"] == TARGET_NETWORK_NAME:
            return network
    return None

def create_resource(client, name, address_value, remote_network_id):
    params = {
        "name": name,
        "address": address_value,
        "remoteNetworkId": remote_network_id
    }
    response = client.execute(MUTATION_CREATE_RESOURCE, variable_values=params)
    if not response["resourceCreate"]["ok"]:
        raise Exception(f"Failed to create resource: {response['resourceCreate']['error']}")
    return response["resourceCreate"]["entity"]

def automate_resource_creation():
    client = setup_client()

    print(f"Searching for target network: {TARGET_NETWORK_NAME}...")
    target_network = get_target_network(client)

    if not target_network:
        print(f"Network '{TARGET_NETWORK_NAME}' not found.")
        return

    print(f"Found network: {target_network['name']}")
    remote_network_id = target_network['id']

    for connector_edge in target_network["connectors"]["edges"]:
        connector = connector_edge["node"]
        public_ip = connector.get("publicIP")
        private_ips = connector.get("privateIPs", [])

        if public_ip:
            resource_name = f"Resource-Public-{public_ip.replace('.', '-')}"
            print(f"Creating Resource for public IP: {public_ip}...")
            resource = create_resource(client, resource_name, public_ip, remote_network_id)
            print(f"Resource created: {resource['name']} (ID: {resource['id']}, Address: {resource['address']['value']})")

        for private_ip in private_ips:
            resource_name = f"Resource-Private-{private_ip.replace('.', '-')}"
            print(f"Creating Resource for private IP: {private_ip}...")
            resource = create_resource(client, resource_name, private_ip, remote_network_id)
            print(f"Resource created: {resource['name']} (ID: {resource['id']}, Address: {resource['address']['value']})")

if __name__ == "__main__":
    try:
        automate_resource_creation()
    except Exception as e:
        print(f"Error: {e}")
- Save the file.
Now, we’ll create a python virtual environment#
- This will make sure we can install packages and prerequisites without hurting your other projects. (if you have some….if you don’t…that’s okay….it’s just good practice)
- First make sure you have it installed. See below for Linux.
sudo apt install python3-venv -y
- Also make sure you install PIP
sudo apt install python3-pip
- Now create a Python virtual environment and activate it.
python3 -m venv twingatesomething

source twingatesomething/bin/activate
- Install the pre-reqs
pip install gql requests requests.toolbelt
- Type to run the script
python3 twingate.py
- Check your resources in Twingate…you should see something cool
!