Creating a Solana Token
What Do You Need?#
A computer…and a terminal#
- Mac, Windows, Linux…it doesn’t matter.
- On Windows, we will be using WSL2…what is that? Check it out here —-> https://youtu.be/vxTW22y8zV8?si=qzu9YrxSFFnXwSLM
!
Docker#
- Docker is my favorite way to deploy pretty much anything. It’s available on all platforms and very easy to install.
Mac - Docker Install#
Linux/Windows (WSL) - Docker Install#
- https://docs.docker.com/engine/install/ (link for all other distros)
- If you are using Ubuntu (primary OS or WSL), do this:
- here is the link to documentation: https://docs.docker.com/engine/install/ubuntu/
Setup Docker’s apt repo#
# Add Docker's official GPG key:
sudo apt-get update
sudo apt-get install ca-certificates curl
sudo install -m 0755 -d /etc/apt/keyrings
sudo curl -fsSL https://download.docker.com/linux/ubuntu/gpg -o /etc/apt/keyrings/docker.asc
sudo chmod a+r /etc/apt/keyrings/docker.asc

# Add the repository to Apt sources:
echo \
  "deb [arch=$(dpkg --print-architecture) signed-by=/etc/apt/keyrings/docker.asc] https://download.docker.com/linux/ubuntu \
  $(. /etc/os-release && echo "$VERSION_CODENAME") stable" | \
  sudo tee /etc/apt/sources.list.d/docker.list > /dev/null
sudo apt-get update
Install the latest Docker version#
sudo apt-get install docker-ce docker-ce-cli containerd.io docker-buildx-plugin docker-compose-plugin
Make sure it works#
sudo docker run hello-world
Setup the Solana Docker Container#
Create a new folder for your token project#
mkdir your-token-name

## jump in there

cd  your-token-name
Create a Dockerfile#
- This will walk you through how to create a Dockerfile, a file that will help you create your own Docker image.
## Use nano to create a file

nano Dockerfile

## Copy and paste the Dockerfile code below. Use ctrl-x-enter to save.
Dockerfile#
# Use a lightweight base image
FROM debian:bullseye-slim

# Set non-interactive frontend for apt
ENV DEBIAN_FRONTEND=noninteractive

# Install required dependencies and Rust
RUN apt-get update && apt-get install -y \
    curl build-essential libssl-dev pkg-config nano \
    && curl --proto '=https' --tlsv1.2 -sSf https://sh.rustup.rs | sh -s -- -y \
    && apt-get clean && rm -rf /var/lib/apt/lists/*

# Add Rust to PATH
ENV PATH="/root/.cargo/bin:$PATH"

# Verify Rust installation
RUN rustc --version

# Install Solana CLI
RUN curl -sSfL https://release.anza.xyz/stable/install | sh \
    && echo 'export PATH="$HOME/.local/share/solana/install/active_release/bin:$PATH"' >> ~/.bashrc

# Add Solana CLI to PATH
ENV PATH="/root/.local/share/solana/install/active_release/bin:$PATH"

# Verify Solana CLI installation
RUN solana --version

# Set up Solana config for Devnet
RUN solana config set -ud

# Set working directory
WORKDIR /solana-token

# Default command to run a shell
CMD ["/bin/bash"]
Build the Docker Image#
- We’re building our Docker image now with the Dockerfile we just created. We’re naming the image heysolana
docker build -t heysolana .
Run the Container#
- Now we are creating a docker container with this image (and running it). Using the -it switch will throw us right into the container.
- The -v options are mapping our current directory inside the docker container so that all the work we do will be saved.
- We are naming the Docker container heysolana
docker run -it --rm -v $(pwd):/solana-token -v $(pwd)/solana-data:/root/.config/solana heysolana
Create a fake Solana Token#
- We’re creating a token on the Solana devnet.
- Why?
- We can brake stuff, it’s free, and this might be where you will stop. You can do everything the mainnet can do, it is just considered a testing environment and you can’t buy or sell tokens here. BUT…you can send and receive tokens. So, if that’s all you care about, this is where you can leave off.
Create an account for mint authority#
- This will be the account that will own the token we’re creating.
- This is also a Solana wallet. You can send and receive Solana tokens with this wallet, or account.
- Here we are creating an account that will start with dad because it’s the daddy of our new token, the boss.
solana-keygen grind --starts-with dad:1
Set the account as the default keypair#
- With this command we are telling the Solana CLI to use this new account we just created as the default account for whatever we are doing.
solana config set --keypair dad-your-token-acount.json
Change to devnet#
- With this command we are changing to the Solana devnet for this token.
solana config set --url devnet
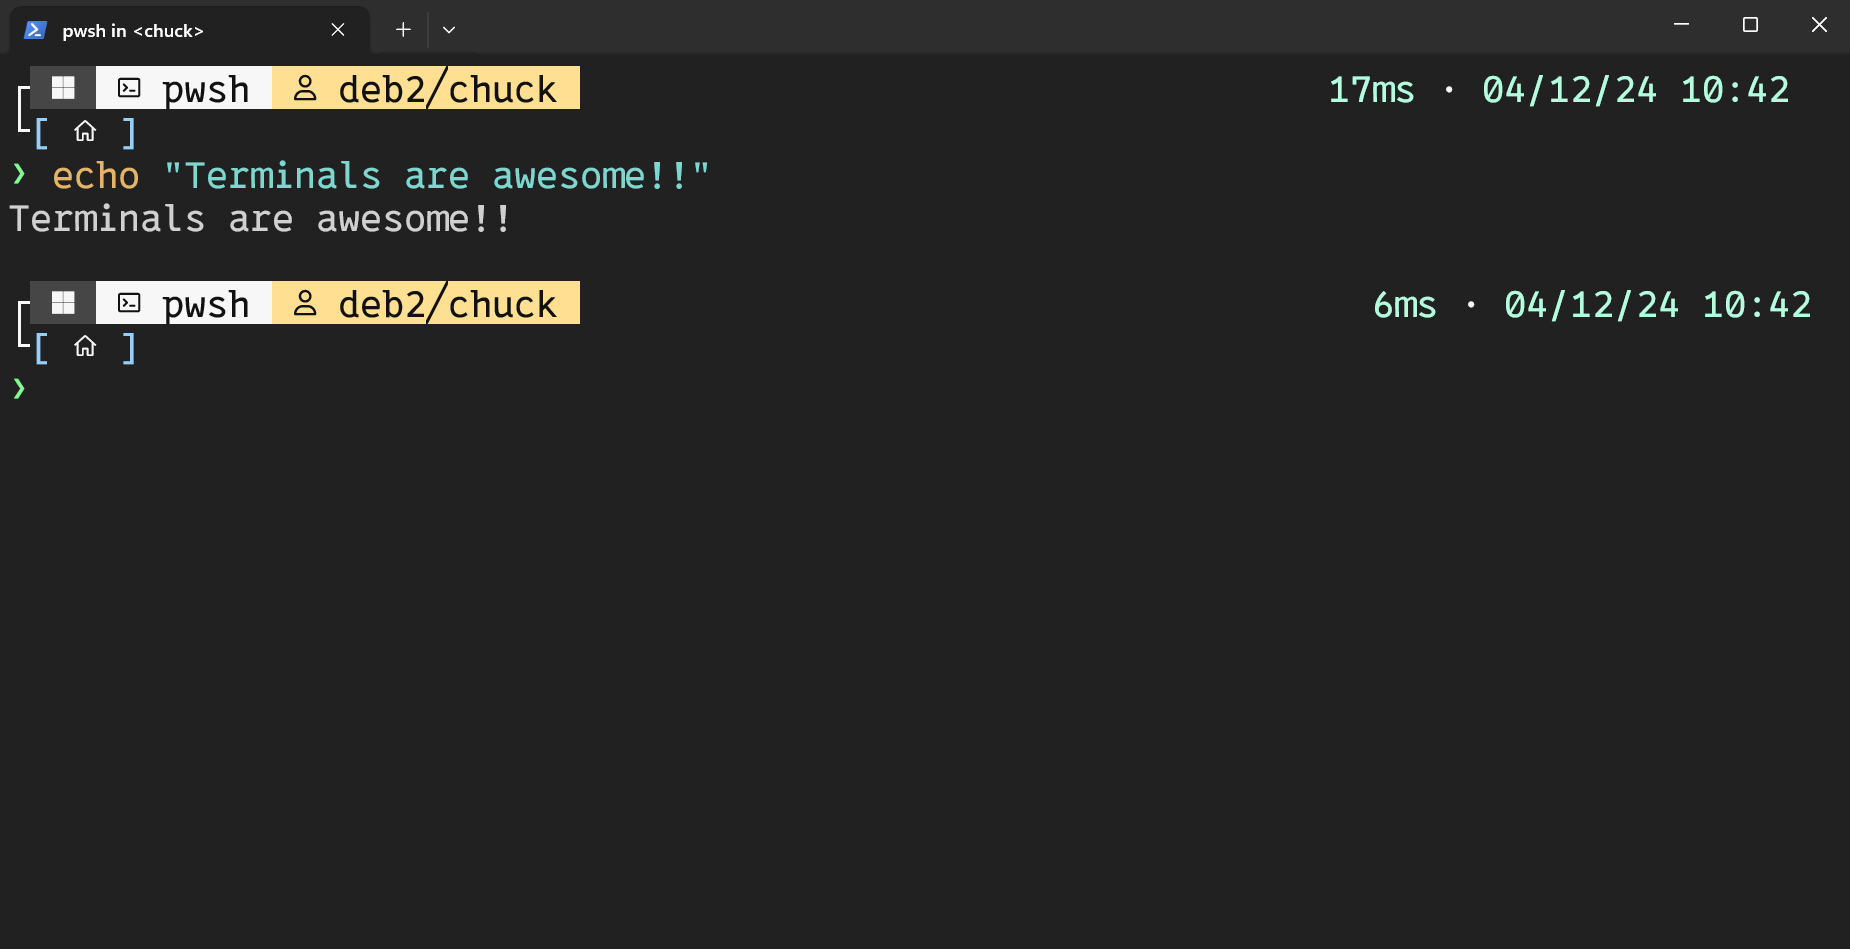
Verify your config#
- This will output your current Solana CLI config
solana config get
!
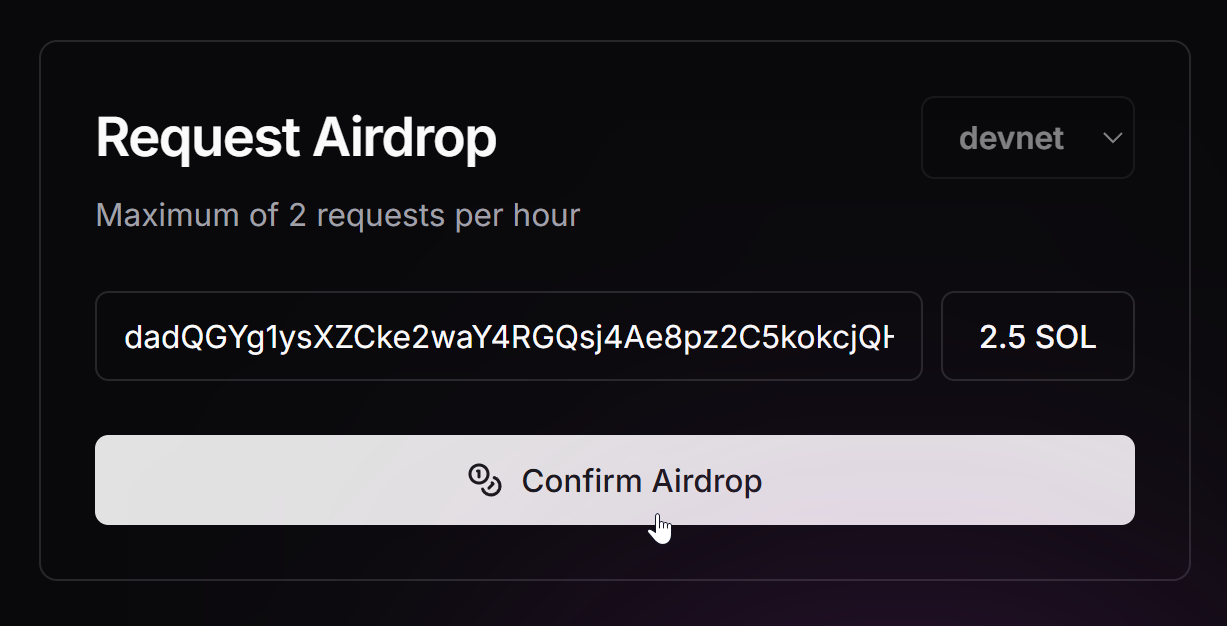
Get some SOL from a faucet#
- In order to mint new tokens, send tokens…etc..on the Solana network, you’ll need SOL to power it.
- On the mainnet you would need to buy actual SOL but on the devnet, you can just wish for it and a magic genie gives you some.
- Go out to this URL https://faucet.solana.com/ to have SOL airdropped to the account you just created. What’s your account address?
## Run this to find your solana address
solana address
- Paste your solana address in the field and enter an amount of SOL you want. 2.5 will be MORE than enough.
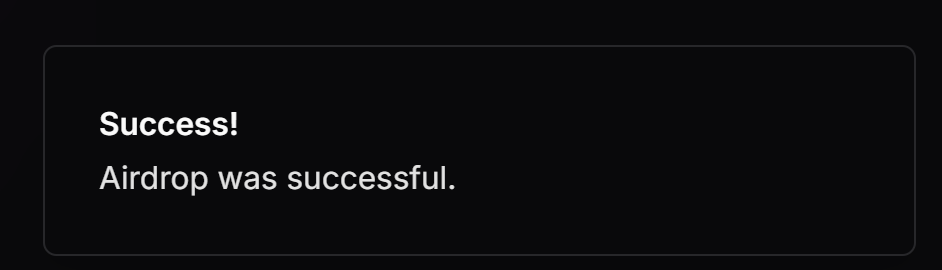
!
- If you see this message, you are solid.
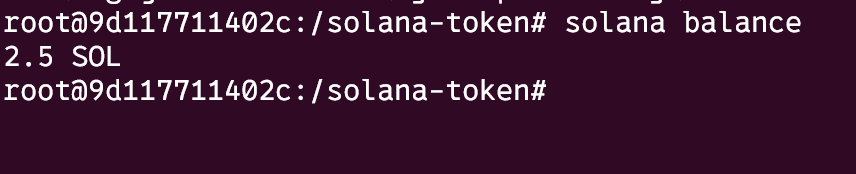
!
- Check your solana balance to make sure it arrived okay.
solana balance
!
Create a mint address#
- Yes, we are creating another account.
- This will be your mint address, the factory that will make your token.
- It will also be the official address of your token and how you will always know it’s the right token.
- We’re going to create it starting with mnt so we know it’s our mint address.
solana-keygen grind --starts-with mnt:1
Now, let’s mint our TOKEN!!!!#
- This is using the default token program from Solana with the –progam-id switch
- We’re enabling metadata with –enable-metadata, you know, pictures and stuff
- Decimals? With the –decimals switch, we are defining how many decimal places our token can have. It specifies how many fractional units a token can have. 9 is what SOL uses…so it should be good enough for us.
- Make sure to include your own mint address below.
spl-token create-token \
--program-id TokenzQdBNbLqP5VEhdkAS6EPFLC1PHnBqCXEpPxuEb \
--enable-metadata \
--decimals 9 \
mnt-your-mint-address.json
- You’ll see an output like this
- I would screenshot or copy and paste this, keep it somewhere safe.
!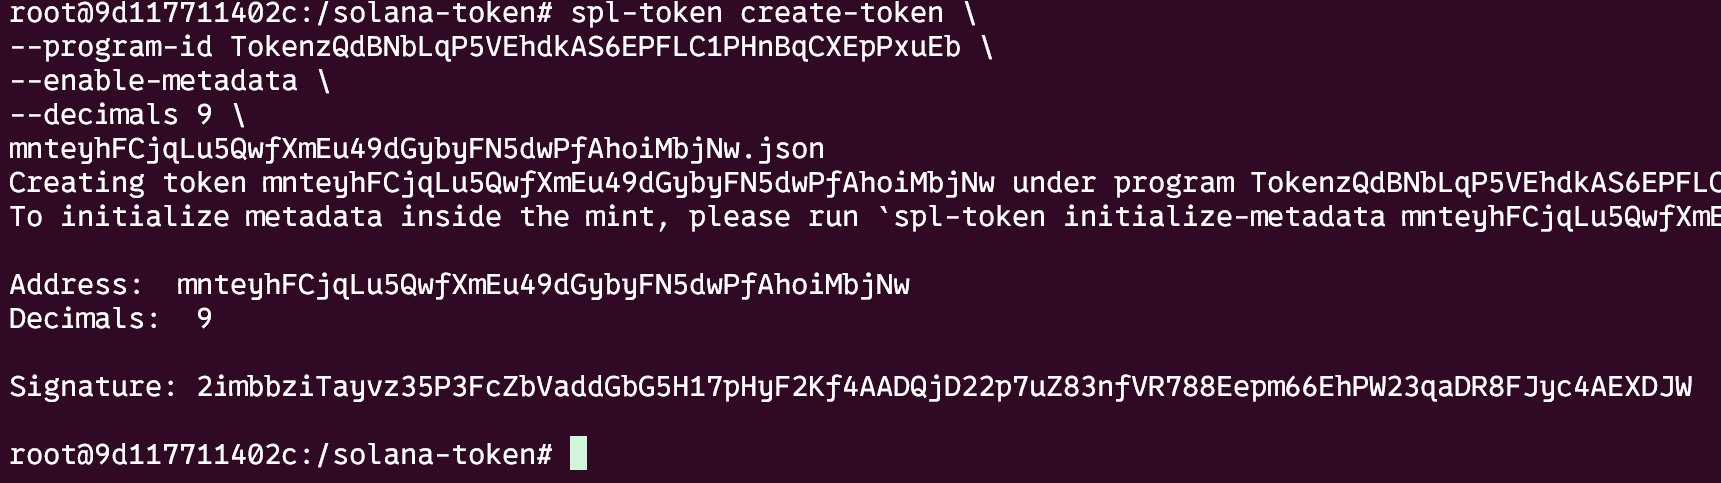
- Notice that my token address is the same as my mint address
Upload Metadata#
- Now, we are going to upload the metadata of our token, things like the name, symbol and the icon.
- Let’s start with our token icon. Make sure it is:
- Square
- either 512x512 or 1024x1024
- less than 100kb
!
Upload Image to some sort of online storage#
-
Since we are doing decentralized things, it would be nice to store our stuff on decentralized storage. I tried Pinata and I like it.
- —> https://app.pinata.cloud/
- Create an account and upload your image
-
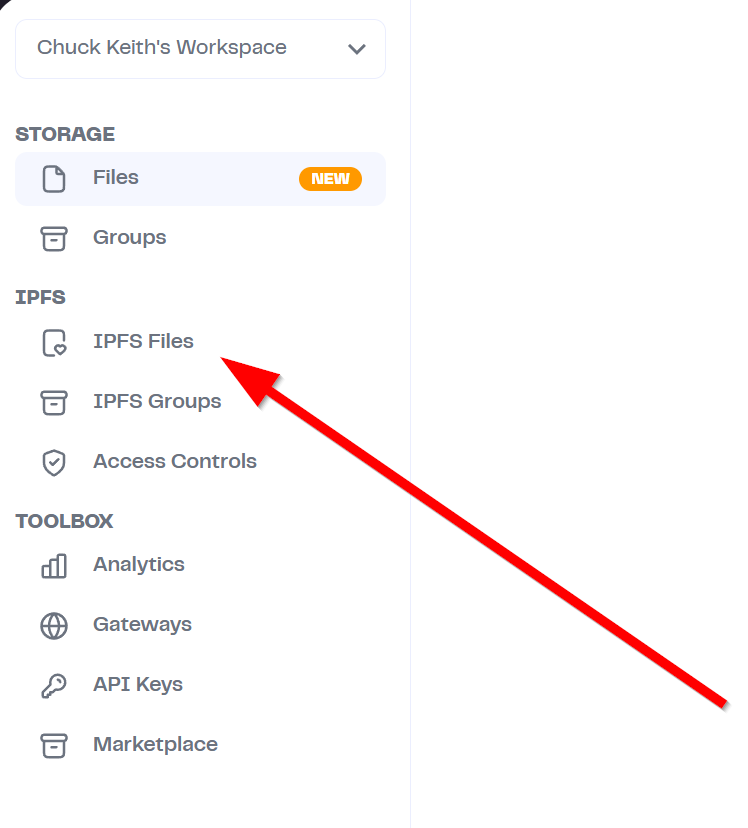
Go to IPFS Files
!
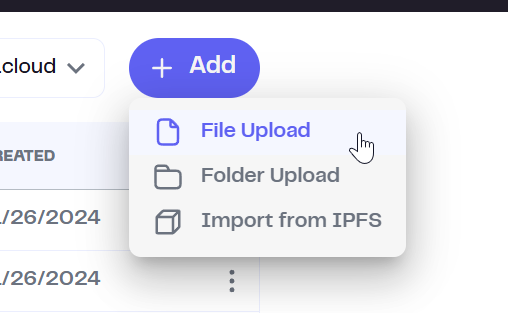
-
Upload your file !
-
Open your file and copy the URL. It should look something like this. Put it somewhere, we’re about to use it.
https://salmon-effective-mosquito-301.mypinata.cloud/ipfs/bafkreigaiqsulww3fulikwx5ho2ifpfqfnco5bhqs4ui5gk5rn4ggkjuoy
Create Metadata file#
- Create a file with this format, filling in your details.
- Name can be anything you want
- Symbol is the short version, like a stock symbol.
- The image will be the url we just copied from our image upload process. If you don’t have one, feel free to use mine.
Save this as a json file#
## Create the file

nano metadata.json

## Copy and paste the metadata stuff
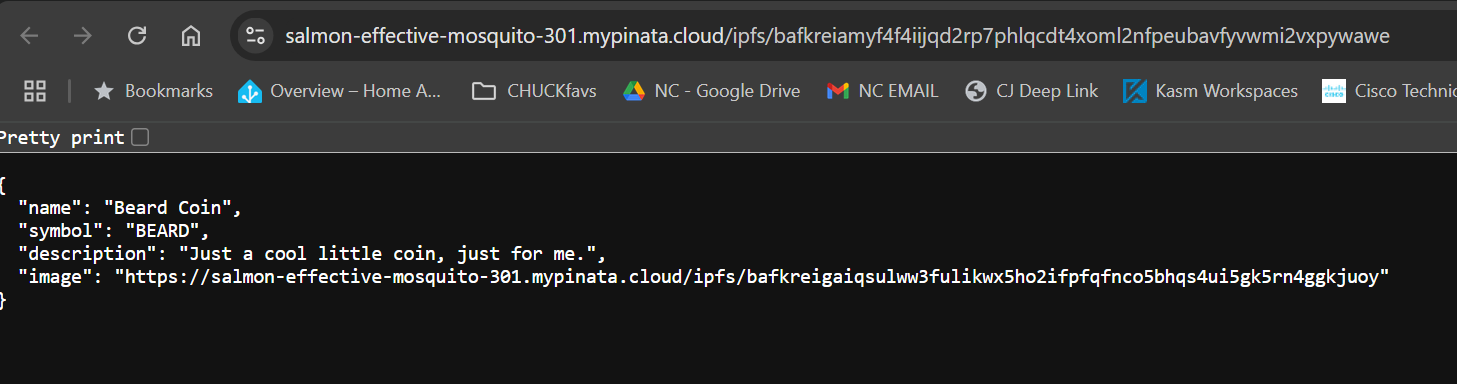
{
  "name": "Beard Coin",
  "symbol": "BEARD",
  "description": "Just a cool little coin, just for me.",
  "image": "https://salmon-effective-mosquito-301.mypinata.cloud/ipfs/bafkreigaiqsulww3fulikwx5ho2ifpfqfnco5bhqs4ui5gk5rn4ggkjuoy"
}
Upload this metadata file to Pinata#
- Same steps as before. Upload to Pinata and copy the url.
!
Add the metadata to the token#
- Now, time to upload our metadata. This will actually go on chain….which is pretty off the chain…..
- Notice our token address is given without the .json
- Then we specify our coin name
- And then our symbol. I know, this is probably redundant…but we’re making sure the job gets done.
- And finally, the url to our metadata.
spl-token initialize-metadata \
mnteyhFCjqLu5QwfXmEu49dGybyFN5dwPfAhoiMbjNw \
"Beard Coin" \
"BEARD" \
https://salmon-effective-mosquito-301.mypinata.cloud/ipfs/bafkreiamyf4f4iijqd2rp7phlqcdt4xoml2nfpeubavfyvwmi2vxpywawe
- You’ll see something like this
!
Let’s take a look!#
- Go out to Solana Explorer (https://explorer.solana.com/), select the devnet as your cluster
!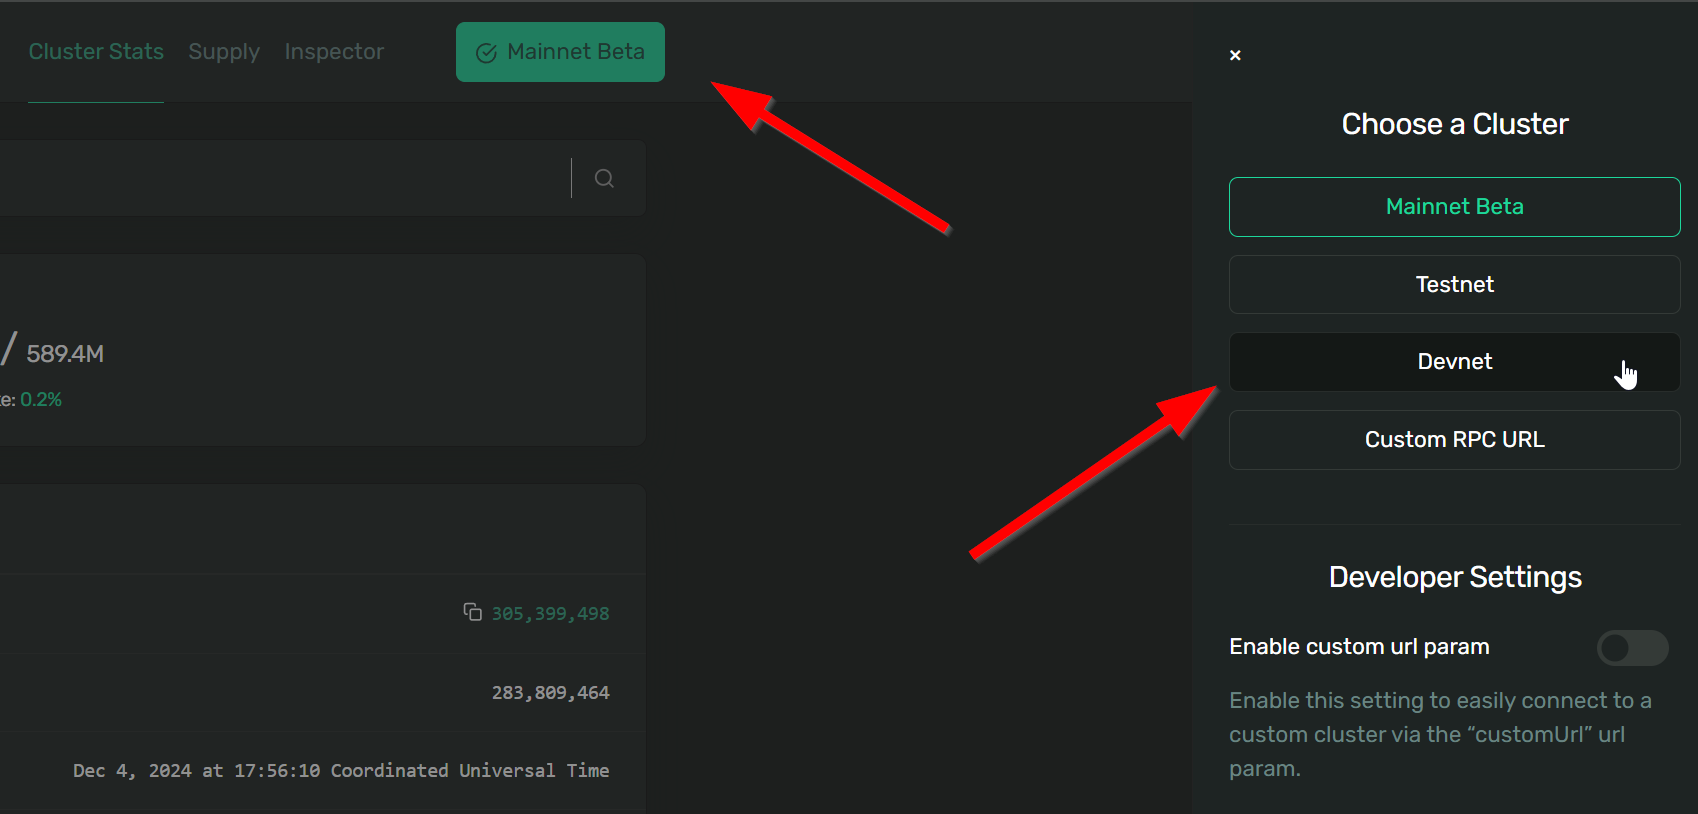
- Paste your token address in the search bar and CELEBRATE!!
!
Let’s make some tokens#
- At this point, we’ve created or minted our token….but we haven’t created any tokens.
- Let’s do that now.
Create a token account#
- First we’ll need a token account. Why? Each Solana wallet will have individual accounts for each token it has.
- We’re creating a token account in our default wallet for our new token, Beard Coin.
spl-token create-account mnteyhFCjqLu5QwfXmEu49dGybyFN5dwPfAhoiMbjNw
!
Let’s print money#
- With our token account created, let’s mint some tokens. We can make as many as we want and we can do this multiple times (as many as you would like….you’re the government now!)
- We’ll start with 1000.
- Note: You can only do this with the dad account we created. It’s the boss, only he can mint new tokens.
spl-token mint mnteyhFCjqLu5QwfXmEu49dGybyFN5dwPfAhoiMbjNw 1000
!
- Let’s check the balance of our wallet
spl-token balance mnteyhFCjqLu5QwfXmEu49dGybyFN5dwPfAhoiMbjNw

## We're rich!!
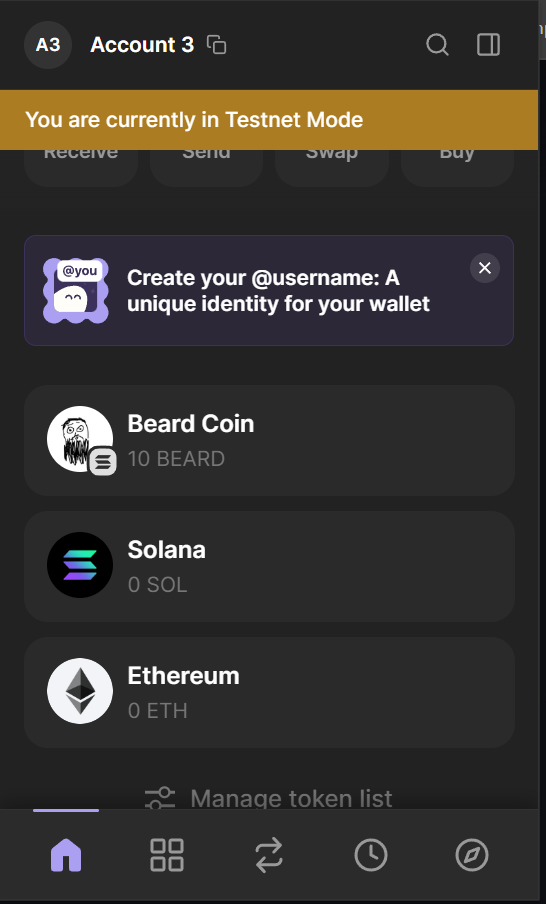
Send some tokens to a friend#
- You can send to anyone with a solana wallet address.
- They will need a way to switch to the devnet to be able to see the token and balance.
- I’m going to send to one of my wallets
spl-token transfer mnteyhFCjqLu5QwfXmEu49dGybyFN5dwPfAhoiMbjNw 10 G5EibadVBKxnshP3NSFagJokfxXCD2VPm6WXoqgDSdQ2 --fund-recipient --allow-unfunded-recipient
!
!
DONE!! You’ve just setup a token on the devnet blockchain. Again, you can stop here. But it you want to have a REAL coin that is tradeable and is on the real blockchain.
Going to Market#
spl-token authorize mntbDZof8kRCoSkjW6tR9J7mvBBM4FWLQ2ysEJowAyh mint --disable
spl-token authorize mntbDZof8kRCoSkjW6tR9J7mvBBM4FWLQ2ysEJowAyh freeze --disable
if you ever need to update metadata
spl-token update-metadata mntbDZof8kRCoSkjW6tR9J7mvBBM4FWLQ2ysEJowAyh uri https://salmon-effective-mosquito-301.mypinata.cloud/ipfs/QmZX81uxJvhtoaAwrcqSdcsbJz1pWZv4gJje17bYTz3Fo3
burn it
spl-token burn LPTokenAddress 100
Read other posts