Posts for: #NetworkChuck

Top InfoTech Creators to Follow in 2025

This is a list of the YouTube creators I love to follow. This list contains creators that I think are genuine, creative and really fun to watch. And most importantly, they provide value. So, here are the Top 10….11.

John Hammond

• Content: Cybersecurity…also now destroying scammers…I think

• Insanely knowledgeable. Also, the nicest guy you’ll ever meet. He is authentically John Hammond on and off camera. He really does care and has a ton of integrity.

Read more

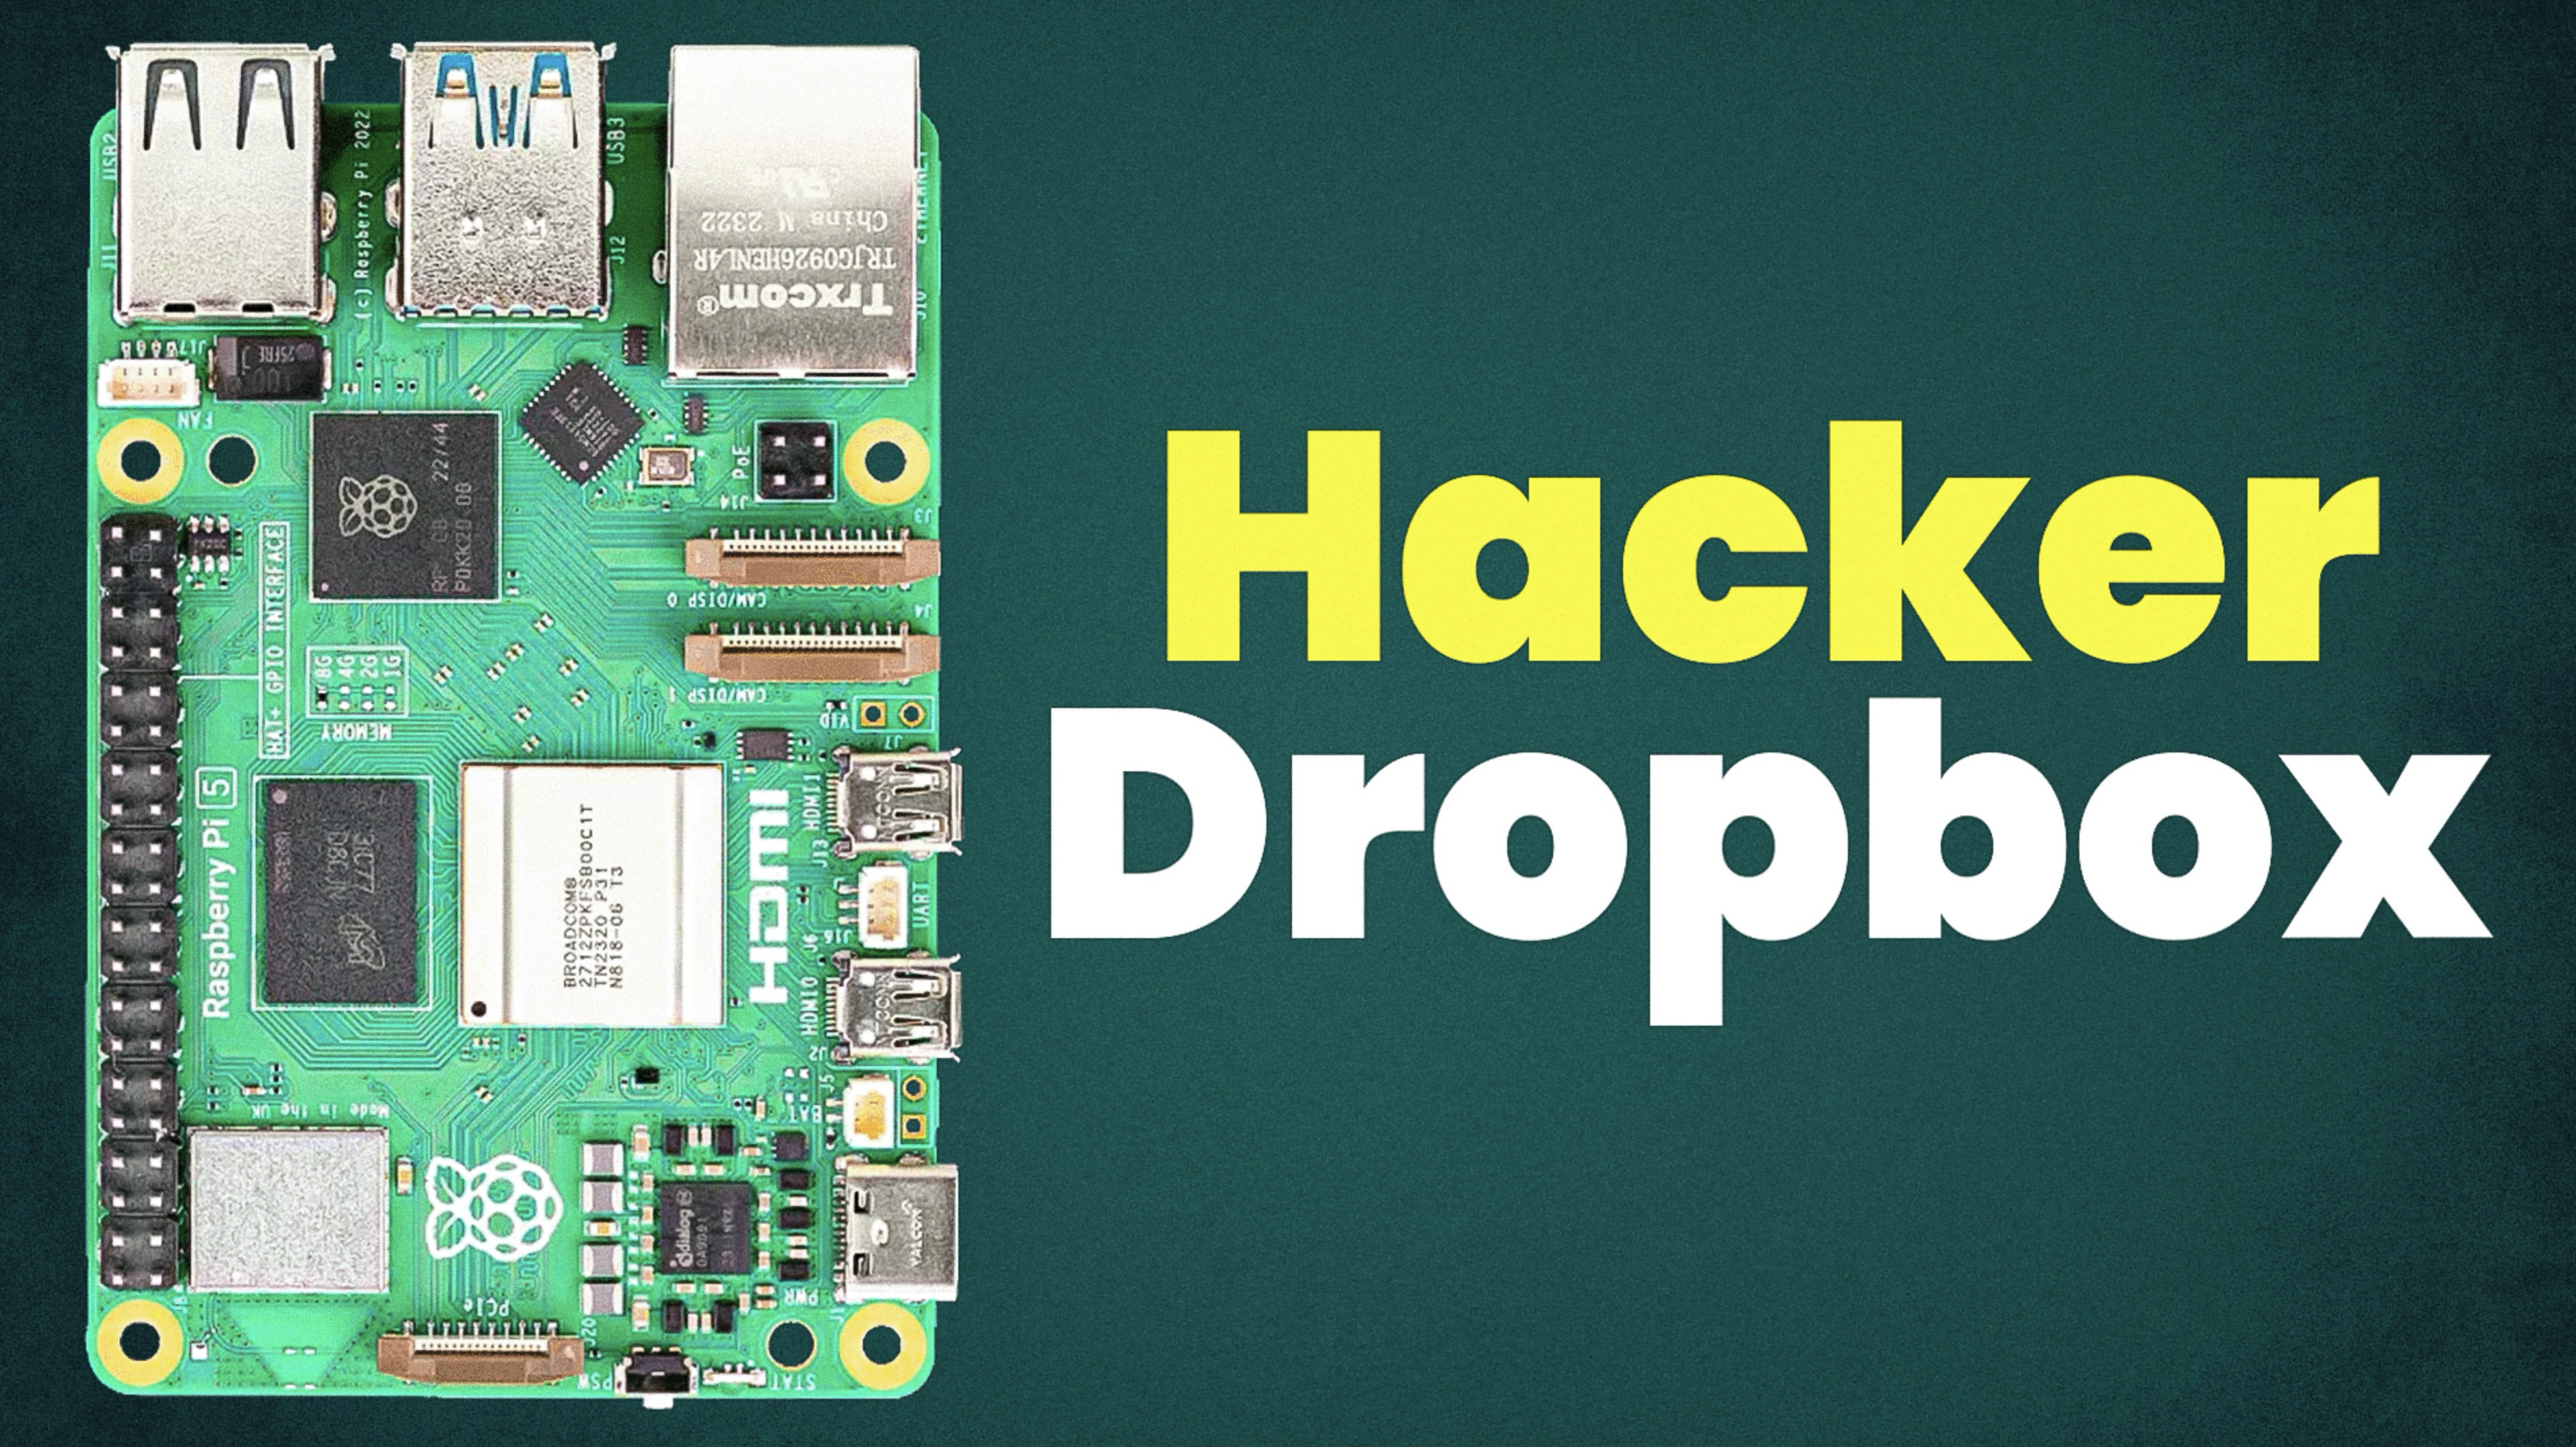
Building a Hacker Dropbox (access any network)

!Image Description

The video: https://youtu.be/1lZ3FQSv-wI?si=-Poh5YhiymhGK5cH

What is a Hacker Dropbox? (and why you need one….even if you aren’t a hacker)

  • Here is a great definition from ChatGPT: a small, discreet, and often portable device designed to be covertly placed in a target network to provide remote access for a hacker or penetration tester. It typically contains hardware and software configured to exploit the network or collect sensitive information.
  • If you’re a hacker…this is a no brainer. Get instant access to a remote network by dropping off a device. But….if you’re not a hacker…why do you need this?

Family HelpDesk Support

  • If you’re like me, you are likely the official technical support for your family and friends. I also inherited the role of helpdesk support for my church…these kinds of things just happen by default when you are in tech and people find out about your technical skills.
  • This isn’t an easy thing to do, especially when it comes to troubleshooting networks for your family. Is the network up? Why is it slow? Sometimes a FaceTime call just isn’t going to cut it.
  • If I’m going to be the support for my church and family, I’m going to take my role seriously. I need FULL control of the remote network……no more playing around!!!
  • With the Hacker Dropbox, I can drop off a small device, in my case it’s going to be a Raspberry Pi 4. (it can be a lot of things, as long as the device is Linux-based and is 64-bit). Instantly I get access to this remote network, enabling me to provide remote support and access any device.

This is NOT VPN

  • This is not a VPN (VIrtual Private Network) solution….it’s much better.
  • This is a ZTNA (Zero-Trust Network Access) solution. It’s called Twingate and I’ve been using them for a long time in my business and personal networks. I talk more about them in the video above but in short, they allow you to get and give remote access to networks in the most secure way. They are used by everyone from large enterprises to homelabbers looking to access their Plex server.
  • This isn’t the first video I’ve made about them but this is the first time I’ve featured a use-case like this.
  • Oh, it’s also FREE for home labbers. (And…cough….businesses that don’t have a ton of employees….like me.)

You don’t need to know ANYTHING about the network

  • I wanted this to be a turnkey solution even if you don’t know anything about the remote network. All you’ll have to do is plug in an ethernet cable (or connect to wifi….but you’ll need to know the SSID and password) and you will know everything you need to know about that network…..but how?
  • Twingate has a powerful API that allows us to do many things…including write python scripts that will automagically tell us the private IP address of our Hacker Dropbox (Raspberry Pi) and the Public IP address of the network, giving us instant access to this Hacker Dropbox AND the network.
  • This guide will contain that script.

What do you need?

  • Any Linux-based 64-bit system will do. You’ll need at least 1 CPU and 2GB RAM (recommended)…but you can go as low as 512MB of RAM.
  • You can also run this as a Docker container, which is my favorite way to deploy this in my home lab.
  • In this example, with the Hacker Dropbox, I’m using a Raspberry Pi 4 running Raspberry Pi OS Lite - 64-bit and installing it directly on the system (no docker container)

What other hardware options do I have?

Again, this can be many things, but here are some ideas to get the juices flowing:

Read more

I Built a Phone System Because No One Answers Me

!Image Description

Yes….I put a phone system in my house

  • In this video…I put a phone system in my house and business.
  • Why?
  • Because no one answers their phones. My wife and daughters all have iphones and apple watches….but seem to never be able to answer their phones. I can NEVER get ahold of someone when I need to!
  • As a complete nerd and former phone system engineer….this solution was obvious…..install a phone system and put a phone in every room.

But….it’s not that simple….

  • My wife is very artsy and particular about the design of our house and what goes in it. She won’t allow just anything to be put on a wall or a side table. These phones had to be old, aesthetic, mid-century….which means I couldn’t use a typical SIP phone like I normally would.
  • Also, my kids are obsessed with the old phones they see on the older tv shows and movies. They had to have them.

So….what phone system? Do we need anything for this?

  • For most people, nothing. We’re using the 3CX phone system and it’s going to be free for up to 10 users, which is more than enough for even a large family like mine. It is also hosted completely free in the cloud forever and you can literally get this setup in minutes.
  • FULL DISCLOSURE, this video is sponsored by 3CX. I have worked with them for a long time and collaborated on a video a while back where we installed a phone system on a Raspberry Pi 4. This is no longer supported so I needed to redeploy a phone system anyway, to solve my domestic issues and I really needed a phone system for my business.

Do we need any hardware? Phones?

  • Physical phones are optional. But they are very fun and I highly recommend them.
  • In the event you do what some physical phones, you’ll need 2 things:
    • A phone….duh
    • A device inside your network that can connect your physical phone to the 3CX cloud instance.
      • This can be either a:

Phones? What phones?

  • Here are the phones that I purchased and can verify work pretty well.

Read more

Creating a Solana Token

What Do You Need?

A computer…and a terminal

!Image Description

Docker

  • Docker is my favorite way to deploy pretty much anything. It’s available on all platforms and very easy to install.

Mac - Docker Install

Linux/Windows (WSL) - Docker Install

Setup Docker’s apt repo

# Add Docker's official GPG key:
sudo apt-get update
sudo apt-get install ca-certificates curl
sudo install -m 0755 -d /etc/apt/keyrings
sudo curl -fsSL https://download.docker.com/linux/ubuntu/gpg -o /etc/apt/keyrings/docker.asc
sudo chmod a+r /etc/apt/keyrings/docker.asc

# Add the repository to Apt sources:
echo \
  "deb [arch=$(dpkg --print-architecture) signed-by=/etc/apt/keyrings/docker.asc] https://download.docker.com/linux/ubuntu \
  $(. /etc/os-release && echo "$VERSION_CODENAME") stable" | \
  sudo tee /etc/apt/sources.list.d/docker.list > /dev/null
sudo apt-get update

Install the latest Docker version

sudo apt-get install docker-ce docker-ce-cli containerd.io docker-buildx-plugin docker-compose-plugin

Make sure it works

sudo docker run hello-world

Setup the Solana Docker Container

Create a new folder for your token project

mkdir your-token-name

## jump in there

cd  your-token-name

Create a Dockerfile

  • This will walk you through how to create a Dockerfile, a file that will help you create your own Docker image.
## Use nano to create a file

nano Dockerfile

## Copy and paste the Dockerfile code below. Use ctrl-x-enter to save.

Dockerfile

# Use a lightweight base image
FROM debian:bullseye-slim

# Set non-interactive frontend for apt
ENV DEBIAN_FRONTEND=noninteractive

# Install required dependencies and Rust
RUN apt-get update && apt-get install -y \
    curl build-essential libssl-dev pkg-config nano \
    && curl --proto '=https' --tlsv1.2 -sSf https://sh.rustup.rs | sh -s -- -y \
    && apt-get clean && rm -rf /var/lib/apt/lists/*

# Add Rust to PATH
ENV PATH="/root/.cargo/bin:$PATH"

# Verify Rust installation
RUN rustc --version

# Install Solana CLI
RUN curl -sSfL https://release.anza.xyz/stable/install | sh \
    && echo 'export PATH="$HOME/.local/share/solana/install/active_release/bin:$PATH"' >> ~/.bashrc

# Add Solana CLI to PATH
ENV PATH="/root/.local/share/solana/install/active_release/bin:$PATH"

# Verify Solana CLI installation
RUN solana --version

# Set up Solana config for Devnet
RUN solana config set -ud

# Set working directory
WORKDIR /solana-token

# Default command to run a shell
CMD ["/bin/bash"]

Build the Docker Image

  • We’re building our Docker image now with the Dockerfile we just created. We’re naming the image heysolana
docker build -t heysolana .

Run the Container

  • Now we are creating a docker container with this image (and running it). Using the -it switch will throw us right into the container.
  • The -v options are mapping our current directory inside the docker container so that all the work we do will be saved.
  • We are naming the Docker container heysolana
docker run -it --rm -v $(pwd):/solana-token -v $(pwd)/solana-data:/root/.config/solana heysolana

Create a fake Solana Token

  • We’re creating a token on the Solana devnet.
  • Why?
  • We can brake stuff, it’s free, and this might be where you will stop. You can do everything the mainnet can do, it is just considered a testing environment and you can’t buy or sell tokens here. BUT…you can send and receive tokens. So, if that’s all you care about, this is where you can leave off.

Create an account for mint authority

  • This will be the account that will own the token we’re creating.
  • This is also a Solana wallet. You can send and receive Solana tokens with this wallet, or account.
  • Here we are creating an account that will start with dad because it’s the daddy of our new token, the boss.
solana-keygen grind --starts-with dad:1

Set the account as the default keypair

  • With this command we are telling the Solana CLI to use this new account we just created as the default account for whatever we are doing.
solana config set --keypair dad-your-token-acount.json

Change to devnet

  • With this command we are changing to the Solana devnet for this token.
solana config set --url devnet

Verify your config

  • This will output your current Solana CLI config
solana config get

!Image Description

Read more

How to Clone a Voice (Open-Source)

Here is the video: https://youtu.be/3fg7Ht0DSnE?si=gyqIdakpKI0Qf1Fy

What the junk is this?

  • This is the 3rd video in my Home Assistant series. This video picks up where I left off (and where I failed) in my last video attempting to replace Alexa with my own, fully local, AI voice assistant.
  • I did everything but create a custom AI voice, specifically the voice of Terry Crews.
  • In this video, I FINALLY figured out a consistent way to clone a voice from pretty much any source. But it has to be LOCAL and FREE.

You can clone my voice

What Do You Need?

…just a computer. But if you have a GPU….better.

Read more