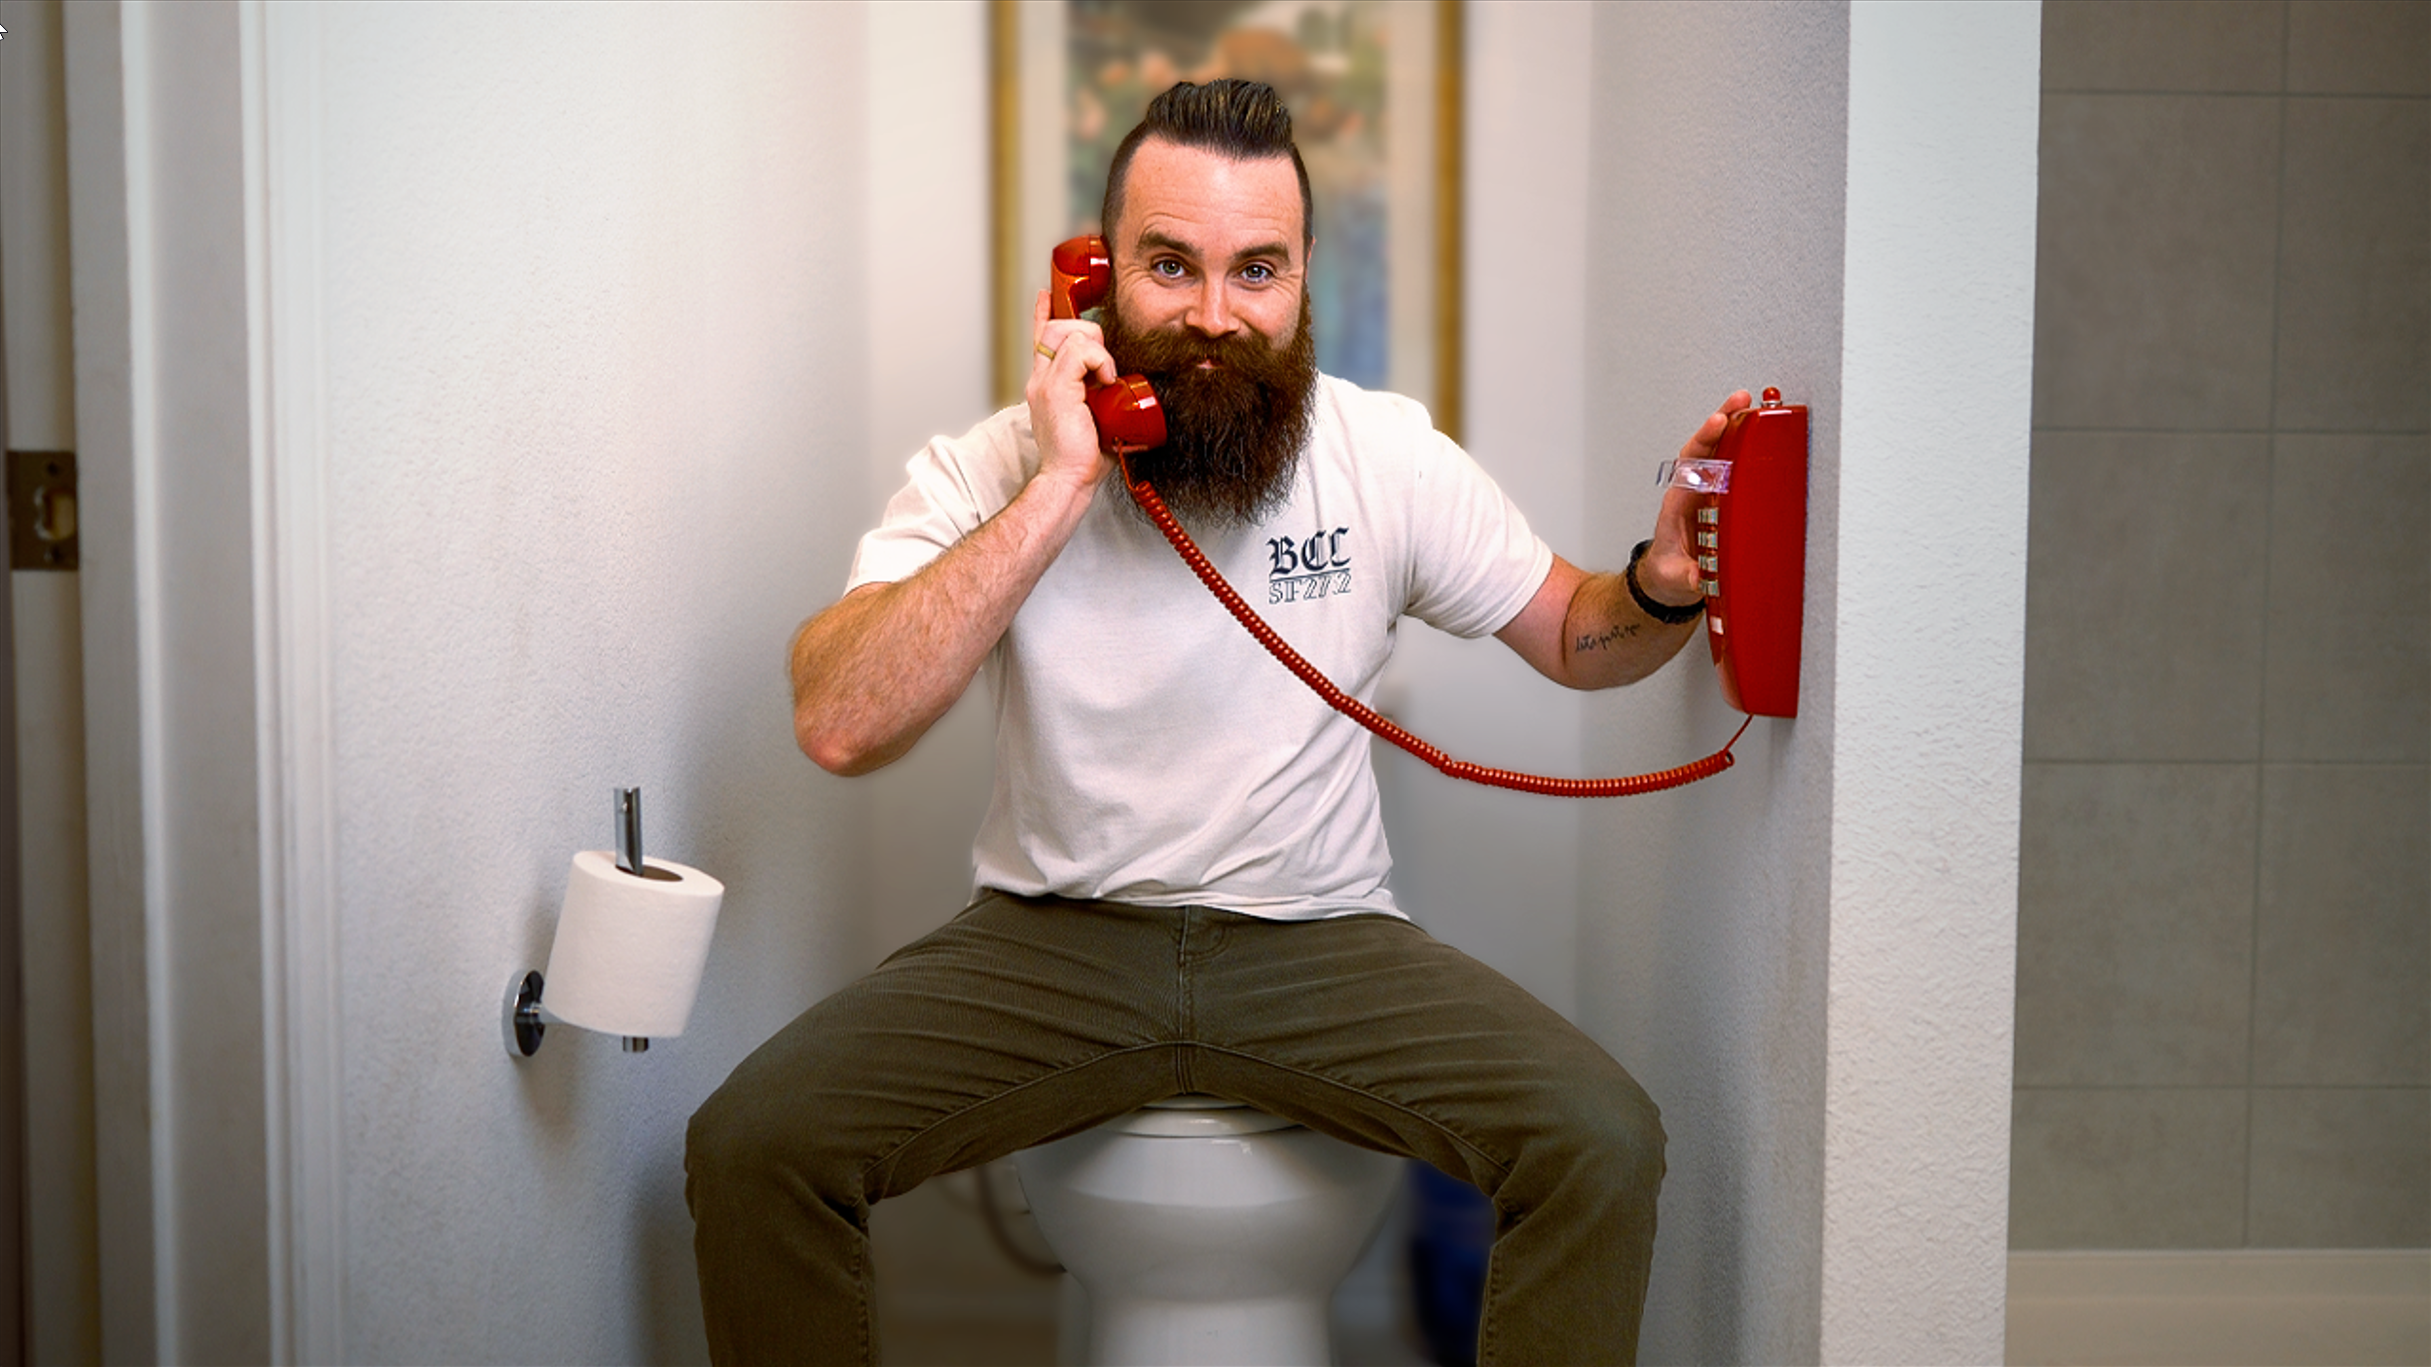
Posts for: #NetworkChuck

Creating a Solana Token

What Do You Need?

A computer…and a terminal

!Image Description

Docker

  • Docker is my favorite way to deploy pretty much anything. It’s available on all platforms and very easy to install.

Mac - Docker Install

Linux/Windows (WSL) - Docker Install

Setup Docker’s apt repo

# Add Docker's official GPG key:
sudo apt-get update
sudo apt-get install ca-certificates curl
sudo install -m 0755 -d /etc/apt/keyrings
sudo curl -fsSL https://download.docker.com/linux/ubuntu/gpg -o /etc/apt/keyrings/docker.asc
sudo chmod a+r /etc/apt/keyrings/docker.asc

# Add the repository to Apt sources:
echo \
  "deb [arch=$(dpkg --print-architecture) signed-by=/etc/apt/keyrings/docker.asc] https://download.docker.com/linux/ubuntu \
  $(. /etc/os-release && echo "$VERSION_CODENAME") stable" | \
  sudo tee /etc/apt/sources.list.d/docker.list > /dev/null
sudo apt-get update

Install the latest Docker version

sudo apt-get install docker-ce docker-ce-cli containerd.io docker-buildx-plugin docker-compose-plugin

Make sure it works

sudo docker run hello-world

Setup the Solana Docker Container

Create a new folder for your token project

mkdir your-token-name

## jump in there

cd  your-token-name

Create a Dockerfile

  • This will walk you through how to create a Dockerfile, a file that will help you create your own Docker image.
## Use nano to create a file

nano Dockerfile

## Copy and paste the Dockerfile code below. Use ctrl-x-enter to save.

Dockerfile

# Use a lightweight base image
FROM debian:bullseye-slim

# Set non-interactive frontend for apt
ENV DEBIAN_FRONTEND=noninteractive

# Install required dependencies and Rust
RUN apt-get update && apt-get install -y \
    curl build-essential libssl-dev pkg-config nano \
    && curl --proto '=https' --tlsv1.2 -sSf https://sh.rustup.rs | sh -s -- -y \
    && apt-get clean && rm -rf /var/lib/apt/lists/*

# Add Rust to PATH
ENV PATH="/root/.cargo/bin:$PATH"

# Verify Rust installation
RUN rustc --version

# Install Solana CLI
RUN curl -sSfL https://release.anza.xyz/stable/install | sh \
    && echo 'export PATH="$HOME/.local/share/solana/install/active_release/bin:$PATH"' >> ~/.bashrc

# Add Solana CLI to PATH
ENV PATH="/root/.local/share/solana/install/active_release/bin:$PATH"

# Verify Solana CLI installation
RUN solana --version

# Set up Solana config for Devnet
RUN solana config set -ud

# Set working directory
WORKDIR /solana-token

# Default command to run a shell
CMD ["/bin/bash"]

Build the Docker Image

  • We’re building our Docker image now with the Dockerfile we just created. We’re naming the image heysolana
docker build -t heysolana .

Run the Container

  • Now we are creating a docker container with this image (and running it). Using the -it switch will throw us right into the container.
  • The -v options are mapping our current directory inside the docker container so that all the work we do will be saved.
  • We are naming the Docker container heysolana
docker run -it --rm -v $(pwd):/solana-token -v $(pwd)/solana-data:/root/.config/solana heysolana

Create a fake Solana Token

  • We’re creating a token on the Solana devnet.
  • Why?
  • We can brake stuff, it’s free, and this might be where you will stop. You can do everything the mainnet can do, it is just considered a testing environment and you can’t buy or sell tokens here. BUT…you can send and receive tokens. So, if that’s all you care about, this is where you can leave off.

Create an account for mint authority

  • This will be the account that will own the token we’re creating.
  • This is also a Solana wallet. You can send and receive Solana tokens with this wallet, or account.
  • Here we are creating an account that will start with dad because it’s the daddy of our new token, the boss.
solana-keygen grind --starts-with dad:1

Set the account as the default keypair

  • With this command we are telling the Solana CLI to use this new account we just created as the default account for whatever we are doing.
solana config set --keypair dad-your-token-acount.json

Change to devnet

  • With this command we are changing to the Solana devnet for this token.
solana config set --url devnet

Verify your config

  • This will output your current Solana CLI config
solana config get

!Image Description

Read more

How to Clone a Voice (Open-Source)

Here is the video: https://youtu.be/3fg7Ht0DSnE?si=gyqIdakpKI0Qf1Fy

What the junk is this?

  • This is the 3rd video in my Home Assistant series. This video picks up where I left off (and where I failed) in my last video attempting to replace Alexa with my own, fully local, AI voice assistant.
  • I did everything but create a custom AI voice, specifically the voice of Terry Crews.
  • In this video, I FINALLY figured out a consistent way to clone a voice from pretty much any source. But it has to be LOCAL and FREE.

You can clone my voice

What Do You Need?

…just a computer. But if you have a GPU….better.

Read more

My Insane Blog Pipeline

Obsidian - Why I love it

The Setup

  • Create a new folder labeled posts. This is where you will add your blog posts
  • ….that’s all you have to do
  • Actually…wait….find out where your Obsidian directories are. Right click your posts folder and choose show in system explorer
  • You’ll need this directory in upcoming steps.

!Image Description

Setting up Hugo

Install Hugo

Prerequisites

Install Hugo

Link: https://gohugo.io/installation/

Read more